One of the most common things I see on new WordPress sites is that everything looks fine on the surface, but the browser still shows “Not Secure” in the address bar. Sometimes the SSL certificate is installed, but the site still loads partially over HTTP. Other times, the site works on both HTTP and HTTPS, which creates duplicate versions without the owner realizing it.
This usually happens right after domain setup or hosting configuration. The site is live, but HTTPS hasn’t been properly enforced or cleaned up. It’s a small detail, but it affects security, SEO, and user trust immediately.
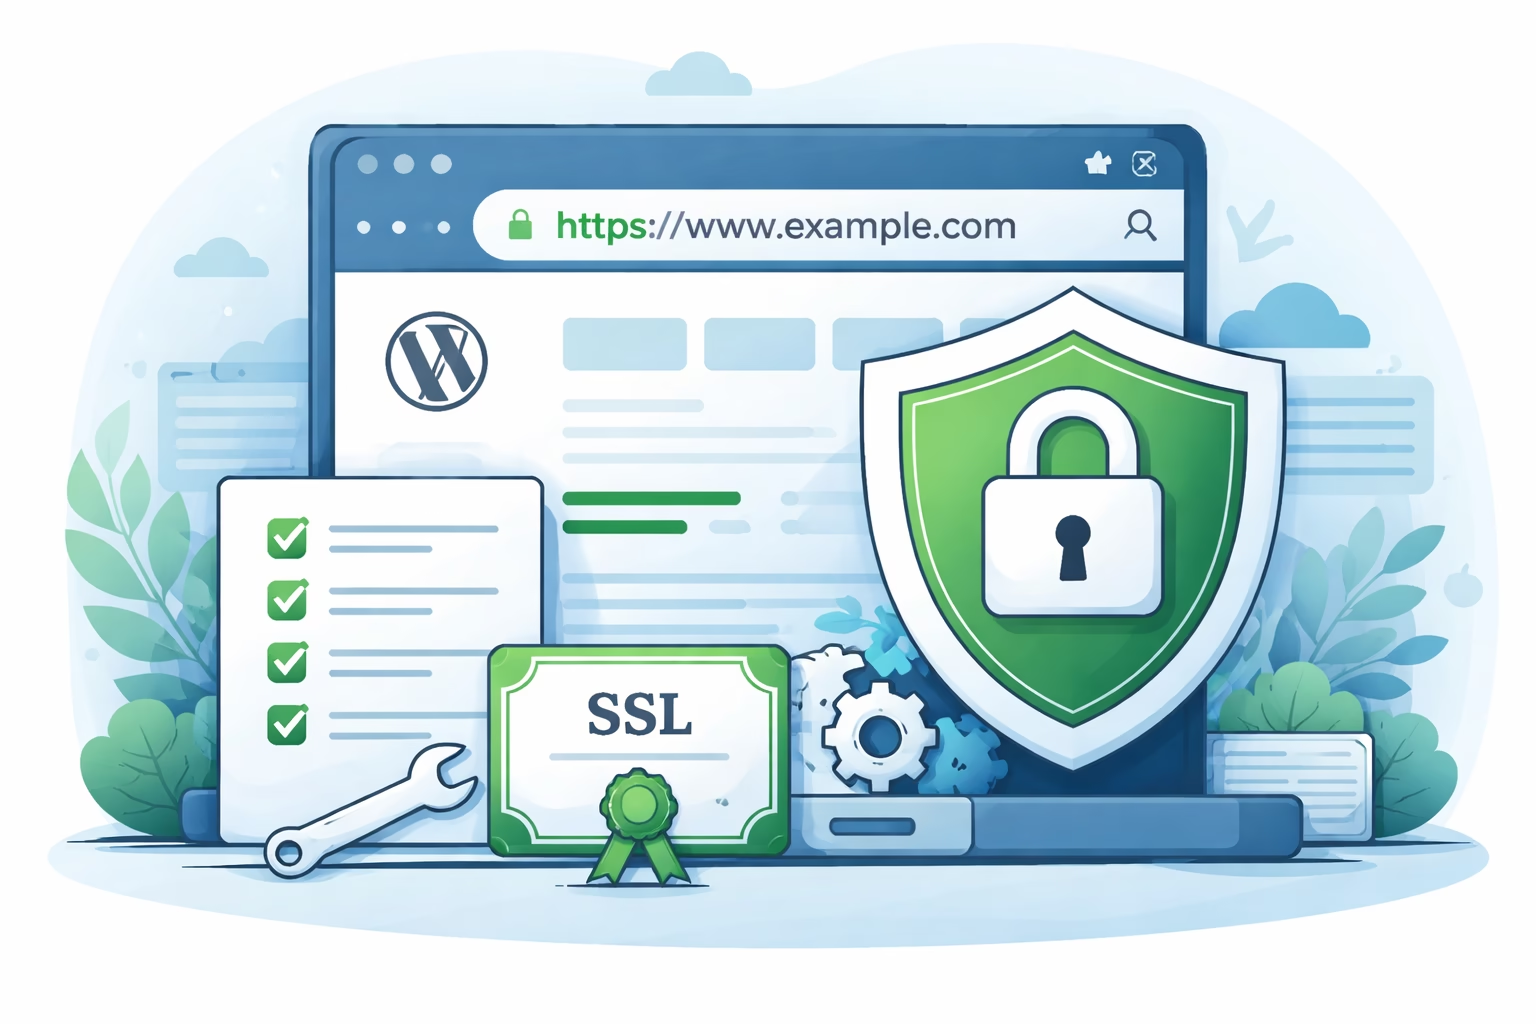
When I set this up on WordPress sites, I treat SSL and HTTPS as part of the core setup, not something optional to fix later.
Table of Contents
Quick Answer / Summary
To set up SSL and HTTPS in WordPress, you need to:
- Install an SSL certificate through your hosting
- Update your WordPress Address and Site Address to HTTPS
- Force HTTPS across the site (via settings, plugin, or server config)
- Fix mixed content issues where some resources still load over HTTP
- Ensure redirects send all HTTP traffic to HTTPS
Once done correctly, your entire site should load securely with no warnings.
Why This Matters
HTTPS does three important things:
- Encrypts data between your site and visitors
- Prevents browser security warnings
- Acts as a ranking signal in search engines
If HTTPS is only partially configured, you end up with:
- Mixed content warnings (some files still loading over HTTP)
- Duplicate versions of your site (HTTP and HTTPS)
- Broken trust signals for visitors
In my experience, incomplete HTTPS setups are one of the most overlooked technical SEO issues on new websites.
Step-by-Step Instructions
1. Install an SSL Certificate
Most hosting providers offer free SSL certificates (usually via Let’s Encrypt).
- Log into your hosting dashboard
- Find the SSL or Security section
- Enable SSL for your domain
Once installed, your site should be accessible at:
https://yourdomain.com
If HTTPS doesn’t load at all, the SSL isn’t installed correctly yet.
2. Update WordPress URLs to HTTPS
In your WordPress dashboard:
- Go to Settings → General
- Update:
- WordPress Address (URL)
- Site Address (URL)
Change both from:
http://yourdomain.com
to:
https://yourdomain.com
Save changes.
This step tells WordPress to use HTTPS for all internal links.
3. Force HTTPS Across Your Site
Even after updating settings, visitors might still access the HTTP version.
You need to force redirects.
Option A: Use Hosting Redirect (Recommended)
Most hosts allow you to enable “Force HTTPS” with one click.
This is the cleanest method.
Option B: Use .htaccess (Apache servers)
Add this to your .htaccess file:
RewriteEngine On
RewriteCond %{HTTPS} off
RewriteRule ^(.*)$ https://%{HTTP_HOST}/$1 [L,R=301]
Option C: Use a Plugin
If you’re not comfortable editing files:
- Use plugins like “Really Simple SSL”
I usually prefer server-level redirects, but plugins are fine for beginners.
4. Fix Mixed Content Issues
This is where most people get stuck.
Mixed content happens when your site loads HTTPS pages but still pulls in:
- Images
- Scripts
- CSS files
from HTTP URLs.
How to fix it:
Option A: Update URLs in database
Use a plugin like “Better Search Replace”:
- Search for:
http://yourdomain.com - Replace with:
https://yourdomain.com
Option B: Check theme and plugin settings
Sometimes themes store URLs manually. Update them in:
- Theme settings
- Page builder content
- Custom fields
Option C: Use browser tools
Open your site → right-click → Inspect → Console
You’ll see warnings showing which files are still loading over HTTP.
5. Update Internal Links and Resources
Check for:
- Hardcoded links in content
- Old image URLs
- External scripts
Most of this is handled by the search-and-replace step, but it’s worth checking key pages manually.
6. Verify HTTPS is Working Properly
Check:
- Your site loads only on HTTPS
- HTTP automatically redirects to HTTPS
- No “Not Secure” warning in the browser
- No mixed content errors in console
You can also test with tools like the SSL Labs SSL Test:
- SSL checker tools
- Browser developer tools
Practical Tips and Observations
- I usually set up SSL before doing any serious content work. It avoids cleanup later.
- Always use 301 redirects when forcing HTTPS to preserve SEO value.
- After switching to HTTPS, re-submit your site in Search Console (if needed).
- Clear caches (hosting, CDN, plugins) after making changes.
On many sites I review, HTTPS is technically enabled but not fully enforced. That’s where most problems come from.
Common Mistakes
1. Only installing SSL but not updating WordPress URLs
This leaves your site partially insecure.
2. Forgetting to force redirects
Both HTTP and HTTPS versions stay active, creating duplicate content.
3. Ignoring mixed content warnings
Even one HTTP image can trigger browser warnings.
4. Using temporary (302) redirects instead of 301
This can weaken SEO signals.
5. Not clearing cache after changes
Old HTTP content can still appear.
When to Use This vs Alternatives
For most WordPress sites, standard SSL + HTTPS is enough.
However:
- If you use a CDN (like Cloudflare), you may manage SSL at the CDN level
- If your host provides managed WordPress hosting, HTTPS may already be enforced
In those cases, you still need to confirm that WordPress URLs and internal links are correct.
Conclusion
Setting up SSL in WordPress isn’t just about installing a certificate. You need to:
- Update your site URLs
- Force HTTPS everywhere
- Fix mixed content
- Confirm everything redirects correctly
Once it’s done properly, you won’t have to think about it again—and your site will be secure, trusted, and ready for SEO.

Etienne Basson works with website systems, SEO-driven site architecture, and technical implementation. He writes practical guides on building, structuring, and optimizing websites for long-term growth.