This is one of those steps that looks simple until you actually try to do it.
You’ve bought a domain name. You’ve set up hosting. Maybe you’ve even installed WordPress. But when you visit your domain, nothing loads—or worse, it shows a parked page or an error.
At this point, most people assume something is broken. In reality, the domain just isn’t connected to the hosting yet.
In most sites I build, this is a standard step, but it’s also one of the most common places where beginners get stuck because it involves settings that aren’t immediately obvious.
Quick Answer / Summary
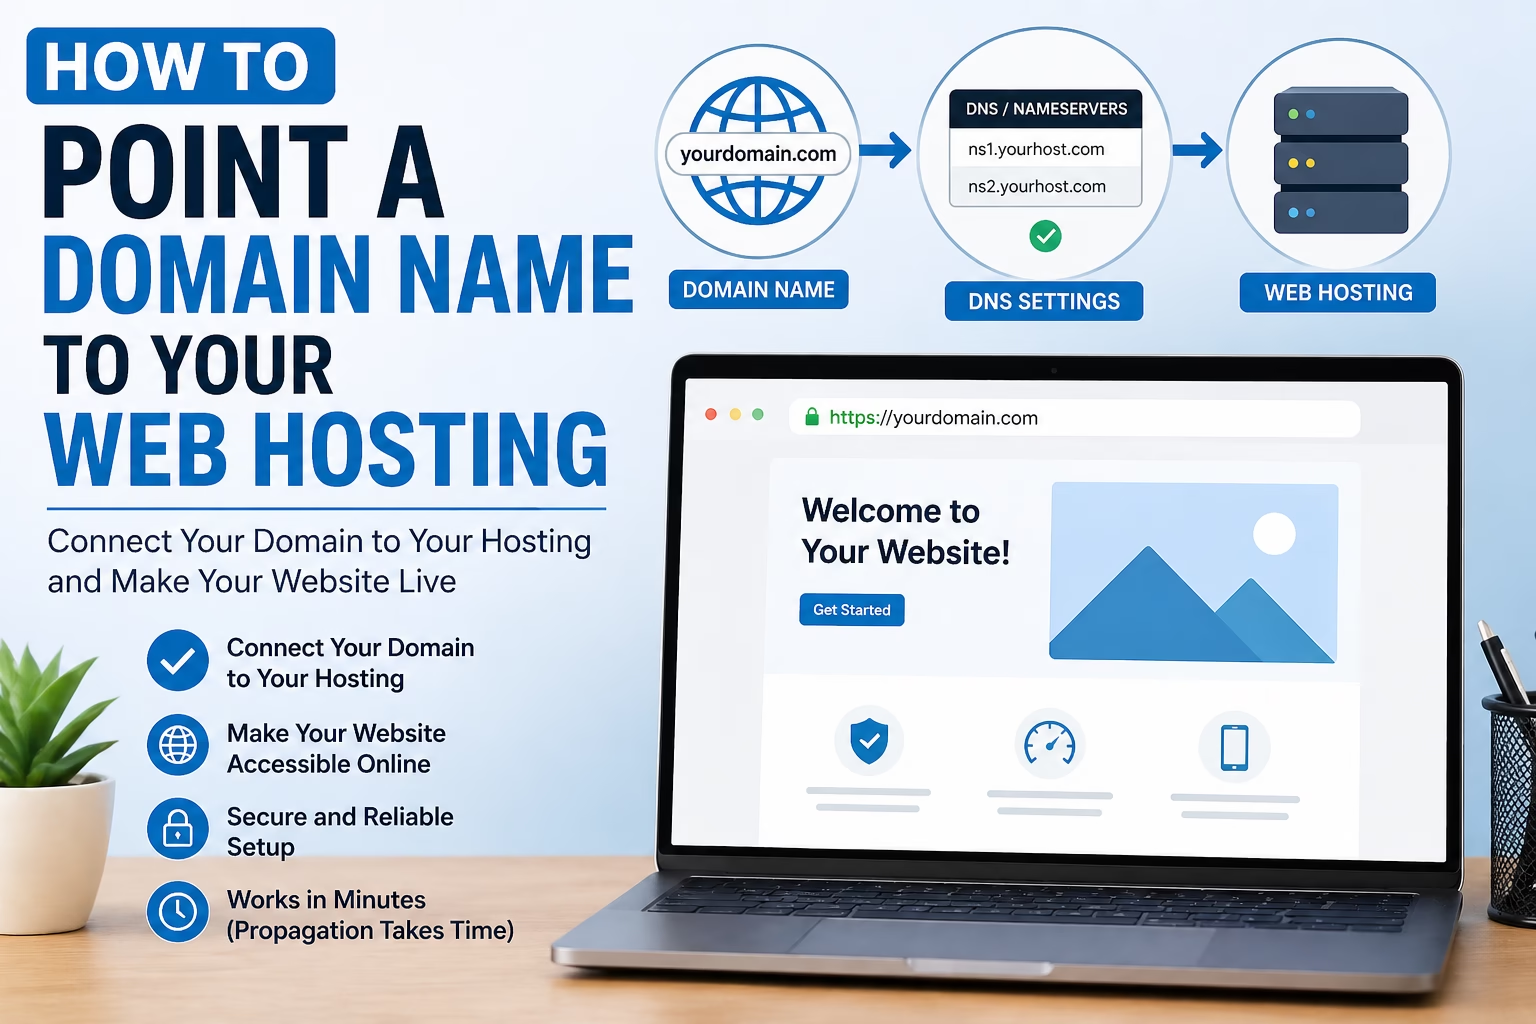
To point a domain name to your web hosting:
- Log in to your domain registrar (where you bought the domain)
- Find the DNS or nameserver settings
- Replace the existing nameservers with your hosting provider’s nameservers
or update DNS records (A record) to your hosting IP - Save changes
- Wait for DNS propagation (usually a few hours, up to 24–48 hours)
Once this is done, your domain will load your website from your hosting.
Why This Matters
Until your domain points to your hosting, your website isn’t accessible at its actual URL.
This step connects:
- your domain name (what people type in)
- your hosting server (where your website files live)
If it’s not set correctly:
- your site won’t load
- SSL setup may fail
- WordPress installation may not work properly
In my experience, this is one of the most overlooked setup steps, especially when the domain and hosting are from different providers.
Step-by-Step Instructions
1. Get Your Hosting Nameservers or IP Address
Before changing anything, you need the correct details from your hosting provider.
Look for:
- Nameservers (recommended method)
Example:- ns1.hostingcompany.com
- ns2.hostingcompany.com
OR
- IP address (used for A records)
You’ll usually find this:
- in your hosting dashboard
- or in your welcome email
2. Log In to Your Domain Registrar
Go to the platform where you bought your domain.
Common examples:
- GoDaddy
- Namecheap
- Google Domains
Find your domain and open its settings.
3. Choose How You Want to Connect the Domain
You have two main options.
Option A: Use Nameservers (Recommended)
This is the simplest method.
- Find Nameserver settings
- Replace the current nameservers with the ones from your hosting
- Save changes
This tells your domain to fully use your hosting provider’s DNS system.
In most WordPress setups, this is what I use because it keeps everything in one place.
Option B: Use DNS Records (A Record)
This method gives you more control.
- Keep your current nameservers
- Go to DNS settings
- Find the A record
- Replace the IP address with your hosting server’s IP
You may also need to:
- update the www record (CNAME or A record)
This approach is useful if:
- you’re using third-party services (like email providers)
- you want to manage DNS separately
4. Save Changes
After updating:
- confirm changes
- wait for confirmation from the registrar
There’s nothing else to do immediately.
5. Wait for DNS Propagation
Changes don’t apply instantly.
Typical timing:
- a few minutes to a few hours
- sometimes up to 24–48 hours
During this time:
- your site may load intermittently
- different locations may see different results
This is normal. You can check propagation status using tools like DNS Checker to see how your domain is resolving globally.
6. Test Your Domain
After some time:
- Enter your domain in the browser
- Check if it loads your website
You can also:
- clear your browser cache
- try a different device or network
If WordPress is installed, your site should now appear.
Practical Tips and Observations
A few things I consistently check when connecting domains:
- Use nameservers unless you have a specific reason not to
It simplifies setup and reduces errors - Double-check for typos
One incorrect character in a nameserver can break everything - Avoid changing DNS multiple times quickly
Each change resets propagation time - Keep a record of original settings
Helpful if you need to revert changes
When I set this up on WordPress sites, I usually wait until the domain is fully connected before configuring SSL and HTTPS in WordPress or final site settings. It avoids unnecessary troubleshooting later.
Common Mistakes
1. Entering the Wrong Nameservers
Even a small typo will prevent the domain from connecting.
2. Mixing Nameservers and DNS Changes
If you change nameservers, DNS records at the old provider won’t apply anymore.
3. Expecting Instant Results
DNS propagation takes time. Checking too early often leads to confusion.
4. Forgetting the “www” Version
Sometimes:
- example.com works
- but www.example.com does not
Both need to be configured properly.
5. Not Knowing Where DNS Is Managed
If nameservers are changed, DNS is managed at the hosting provider—not the registrar.
This causes a lot of unnecessary troubleshooting.
When to Use This vs Alternatives
Use nameservers when:
- you want a simple setup
- your hosting provider handles everything
Use DNS records (A record) when:
- you need more control
- you’re using external services (email, CDN, etc.)
For most beginner WordPress sites, nameservers are the easiest and most reliable option.
Conclusion
Pointing a domain to your hosting is what makes your website accessible at its actual address.
The process is straightforward:
- update nameservers or DNS records
- save changes
- wait for propagation
Once this step is complete, your site can load properly, and you can move on to things like SSL setup and final configuration.
This is a one-time setup, but getting it right early saves a lot of confusion later.

Etienne Basson works with website systems, SEO-driven site architecture, and technical implementation. He writes practical guides on building, structuring, and optimizing websites for long-term growth.