When you start adding people to a WordPress site, things can get messy faster than expected. At first, it might just be you working on the site. Then maybe someone helps with writing content, someone else updates pages, or a developer needs access.
This is where problems usually begin. I often see sites where everyone is given full admin access just to “make things easier.” That works short term, but it creates real risks. One wrong click, plugin deletion, or setting change can break the entire site.
User roles and permissions exist to prevent exactly that. Setting them up properly keeps your site organized, secure, and easier to manage as it grows.
Quick Answer / Summary
WordPress user roles control what each person can do on your website. You assign roles like Administrator, Editor, Author, or Subscriber, and each role has specific permissions.
To set this up:
- Go to Users → Add New
- Create a user
- Assign the correct role based on what they need to do
The key is to only give the minimum level of access required.
Why This Matters
User roles directly affect both security and workflow.
From a security perspective, fewer permissions mean fewer ways your site can be accidentally or intentionally damaged. In most sites I build, limiting admin access is one of the first things I do after the main WordPress settings after installation are configured.
From a workflow perspective, roles help keep responsibilities clear. Writers can focus on content, editors can review it, and only admins handle site settings and plugins.
Without proper roles, you usually end up with:
- Too many admins
- Accidental changes to settings
- Deleted content or plugins
- Confusion about who is responsible for what
Step-by-Step Instructions
Step 1: Understand the Default WordPress Roles
Before assigning anything, it helps to know what each role does.
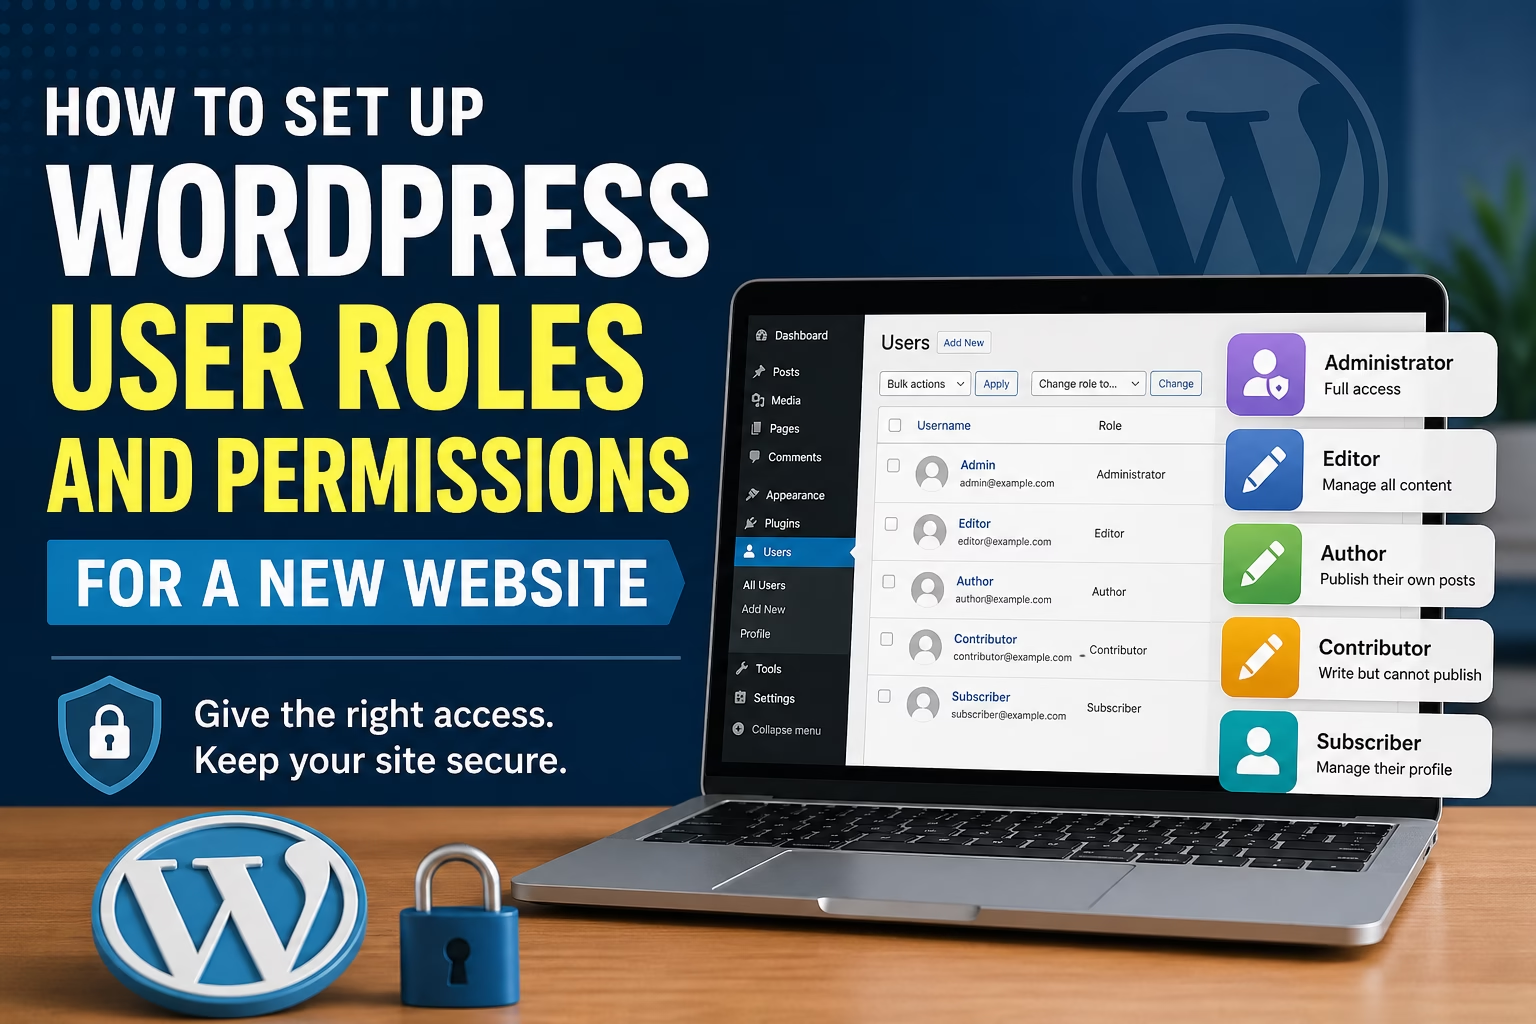
- Administrator – Full access to everything (settings, plugins, users)
- Editor – Can manage and publish all content, including others’ posts
- Author – Can write, publish, and manage their own posts only
- Contributor – Can write posts but cannot publish them
- Subscriber – Can only manage their own profile
In most cases, you will use only 3–4 of these roles regularly.
Step 2: Add a New User
- Go to Users → Add New
- Enter:
- Username
- Password
- Select a role from the dropdown
- Click Add New User
That’s all it takes technically, but choosing the right role is the important part.
Step 3: Assign Roles Based on Real Tasks
Instead of picking roles randomly, match them to what the person will actually do.
Here’s a practical way to assign roles:
- You (site owner): Administrator
- Content manager: Editor
- Blog writers: Author or Contributor
- Clients or members: Subscriber
When I set this up on WordPress sites, I avoid giving admin access unless someone truly needs to manage the entire site.
Step 4: Review Existing Users
If your site already has users:
- Go to Users → All Users
- Check each user’s role
- Downgrade roles where necessary
This is especially important if multiple people were added early on without structure.
Step 5: Limit Administrator Access
This step is often skipped, but it’s one of the most important.
Only keep admin access for:
- Yourself
- A trusted developer (if needed)
Everyone else should have a lower role.
In my experience, reducing the number of admins immediately lowers the risk of site issues.
Practical Tips or Observations
1. Start with lower permissions and increase only if needed
It’s much safer to upgrade a user later than to fix damage from too much access.
2. Use Editor instead of Administrator for most team members
Editors can manage content without touching critical settings.
3. Contributors are useful for review workflows
If you want to approve content before publishing, Contributor is a good option.
4. Consider role plugins if you need more control
On more complex sites, I sometimes use plugins like role editors to customize permissions further.
5. Review roles regularly
People’s responsibilities change. Make it a habit to check roles every few months.
Common Mistakes
Giving everyone Administrator access
This is the most common mistake. It removes all control and increases risk.
Not removing unused accounts
Old users with access can become a security issue. Delete or deactivate them.
Using the wrong role for writers
Giving writers Editor or Admin access when Author or Contributor is enough.
Forgetting about permissions when installing plugins
Some plugins add new capabilities. Always check how they interact with roles.
When to Use This vs Alternatives
The default WordPress roles work well for most websites, especially small to medium projects.
However, you might need alternatives when:
- You run a membership site (custom roles needed)
- You manage a large team with different responsibilities
- You need very specific permissions (e.g., editing only certain pages)
In those cases, a role management plugin or a more advanced setup makes sense. You can also review the official WordPress roles and capabilities documentation to understand exactly what each role can do.
Conclusion
User roles in WordPress are simple to set up, but they have a big impact on how your site runs.
Assign roles based on real responsibilities, keep admin access limited, and review permissions regularly. This keeps your site safer and makes it easier to manage as it grows.

Etienne Basson works with website systems, SEO-driven site architecture, and technical implementation. He writes practical guides on building, structuring, and optimizing websites for long-term growth.