At some point, most websites outgrow their hosting.
Maybe your site is getting slower as traffic increases. Maybe support is lacking, or pricing has crept up. Or you simply want more control and better performance. If you’re still deciding where to move, this guide on how to choose website hosting for a new WordPress site can help. Whatever the reason, moving a WordPress site to a new host is something almost every site owner ends up doing.
The problem is that migration feels risky. If something goes wrong, you can lose files, break your layout, or take your site offline. I’ve seen sites go down for hours because of a small missed step like DNS settings or database configuration.
The good news is that WordPress migration is very manageable when you follow a clear process.
Quick Answer / Summary
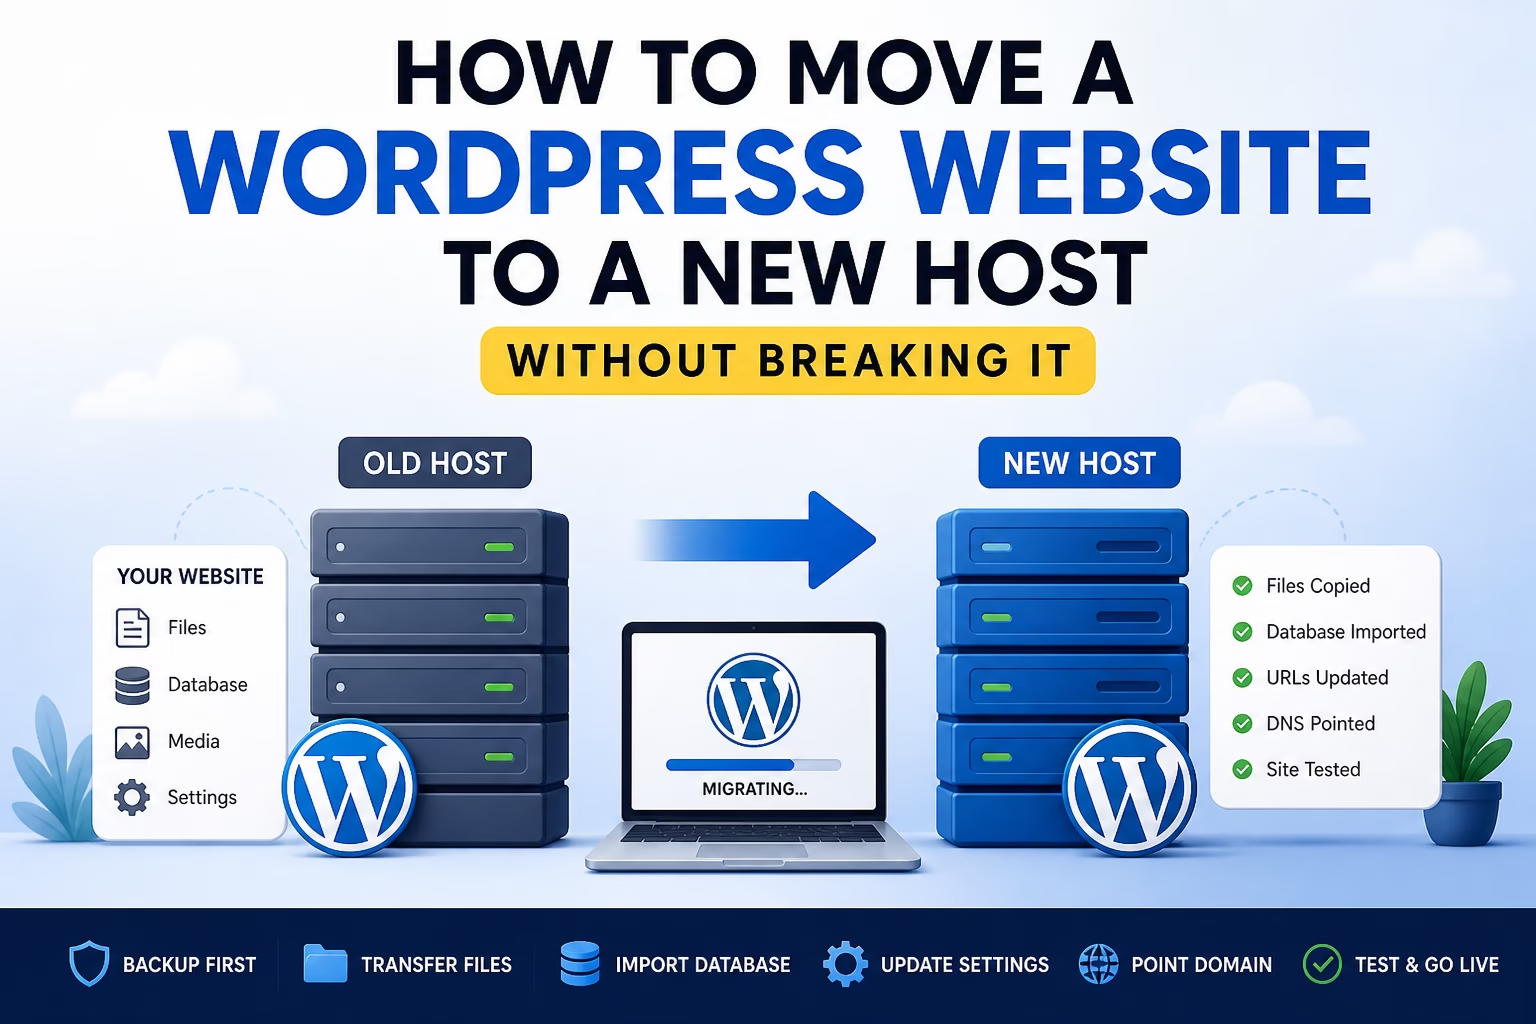
To move a WordPress website to a new host safely, you need to:
- Back up your entire site (files + database)
- Upload files to the new host
- Import the database
- Update configuration settings (wp-config.php and URLs)
- Point your domain to the new host
- Test everything before and after going live
Done correctly, your visitors won’t notice the change.
Why This Matters
A proper migration protects three critical things:
- Your content (posts, pages, media)
- Your SEO rankings
- Your site uptime
In most sites I build, migrations are done when improving performance or scaling traffic. If handled poorly, you can lose rankings, break links, or create downtime. If handled properly, you can switch hosts with minimal disruption.
Step-by-Step Instructions
Step 1: Create a Full Backup
Before touching anything, back up both:
- Website files (themes, plugins, uploads)
- Database (all content and settings)
You can do this with:
- A backup plugin
- Your hosting control panel
- Manual FTP + database export
Why this matters: If anything goes wrong, you can restore your site immediately.
In my experience, skipping a proper backup is the biggest mistake people make during migrations.
Step 2: Set Up Your New Hosting Account
On your new host:
- Add your domain
- Create a new empty database
- Note your database name, username, and password
Some hosts offer “temporary URLs” or staging environments. If available, use them to test before going live.
Step 3: Upload Your Website Files
Download your site files from your old host and upload them to the new one using:
- FTP (FileZilla or similar)
- Hosting file manager
Make sure everything goes into the correct directory (usually public_html or similar).
Important: Keep the file structure exactly the same.
Step 4: Export and Import the Database
From your old host:
- Export your database (usually via phpMyAdmin)
On your new host:
- Import that database into the new one you created
Why this matters: Your database contains all posts, pages, settings, menus, and user data.
Step 5: Update wp-config.php
In your uploaded files, find wp-config.php and update these lines:
- Database name
- Database user
- Database password
- Database host (usually “localhost”, but depends on host)
If these are incorrect, your site won’t connect to the database.
Step 6: Update Site URLs (If Needed)
If your domain is staying the same, you may not need to change URLs.
But if anything has changed (like moving from a staging domain), update:
- Site URL
- Home URL
You can do this via:
- Database (wp_options table)
- Or a plugin after migration
Step 7: Point Your Domain to the New Host
Now update your domain’s DNS settings:
- Change nameservers OR
- Update A record to the new host’s IP
DNS changes usually take a few hours, but can take up to 24–48 hours globally. Google also provides guidance on handling site moves in their official documentation on site migrations, which is useful if you’re concerned about SEO impact.
Step 8: Test Everything
Before and after DNS changes, test:
- Homepage
- Key pages
- Navigation menus
- Contact forms
- Images and media
- Login area (/wp-admin)
When I set this up on WordPress sites, I always test forms specifically—email issues are common after migration.
Practical Tips or Observations
- Use a migration plugin if you want simplicity
Tools like Duplicator or All-in-One WP Migration can handle most of this automatically. - Lower DNS TTL before migration
This helps changes propagate faster. - Keep the old hosting active temporarily
Don’t cancel it immediately. Wait until everything is confirmed working. - Check email settings (SMTP)
Email delivery often breaks after migration if not configured correctly. - Clear caches
If you use caching plugins or CDN services, clear them after the move.
Common Mistakes
1. Not backing up properly
Relying on partial backups can leave you stuck if something fails.
2. Forgetting to update wp-config.php
Incorrect database credentials will break your site instantly.
3. DNS misconfiguration
Pointing your domain incorrectly can take your site offline.
4. Missing files during upload
Even one missing file can break themes or plugins.
5. Not testing before going live
This leads to broken layouts or missing functionality after launch.
When to Use This vs Alternatives
Use manual migration if:
- You want full control
- You understand hosting and file systems
- You’re working on a more complex site
Use a plugin if:
- You want a faster, simpler process
- You’re moving a standard site
- You prefer automation
Use host-provided migration if:
- Your new host offers free migration
- You want minimal effort
- You’re unsure about technical steps
I usually recommend host-assisted migration for beginners—it reduces risk significantly.
Conclusion
Moving a WordPress website to a new host comes down to three things: copying files, transferring the database, and updating connections.
If you take a structured approach—backup first, move carefully, and test thoroughly—you can migrate your site without downtime or data loss.
Most issues during migration come from skipped steps, not technical difficulty. Follow the process properly, and the move is straightforward.

Etienne Basson works with website systems, SEO-driven site architecture, and technical implementation. He writes practical guides on building, structuring, and optimizing websites for long-term growth.