Long blog posts are great for SEO, but they often become difficult to navigate. I see this a lot on newer WordPress sites—articles are well-written, but users have to scroll endlessly to find what they need. That usually leads to higher bounce rates and lower engagement.
A table of contents fixes that problem quickly. It gives readers a clear structure, helps them jump to specific sections, and makes the page easier to scan. When I add one to content-heavy posts, I usually see better time on page and smoother navigation, especially on mobile.
It also plays a role in SEO. A well-structured page with anchor links can help search engines understand your content hierarchy more clearly. Google explains how crawlable links and structure affect indexing in its documentation on crawlable links.
Quick Answer / Summary
To add a table of contents in WordPress, you can either:
- Use a plugin (fastest and easiest for most sites), or
- Manually create anchor links using heading IDs
Most WordPress users should use a plugin because it automatically generates and updates the table of contents based on your headings.
Why This Matters
A table of contents improves both usability and structure.
From a user perspective, it helps readers:
- Find information quickly
- Skip sections they don’t need
- Understand what the article covers at a glance
From an SEO perspective, it:
- Reinforces heading structure
- Improves internal page navigation
- Can help with featured snippets in some cases
In most sites I build, adding a table of contents becomes important once posts go beyond 1,000 words.
Step-by-Step Instructions
Option 1: Add a Table of Contents Using a Plugin
This is the simplest and most reliable method.
Step 1: Install a Table of Contents Plugin
- Go to your WordPress dashboard
- Navigate to Plugins → Add New
- Search for “table of contents”
- Install and activate a plugin (for example, Easy Table of Contents or similar)
Step 2: Configure Basic Settings
- Go to Settings → Table of Contents (or the plugin’s settings page)
- Choose which post types to include (usually Posts)
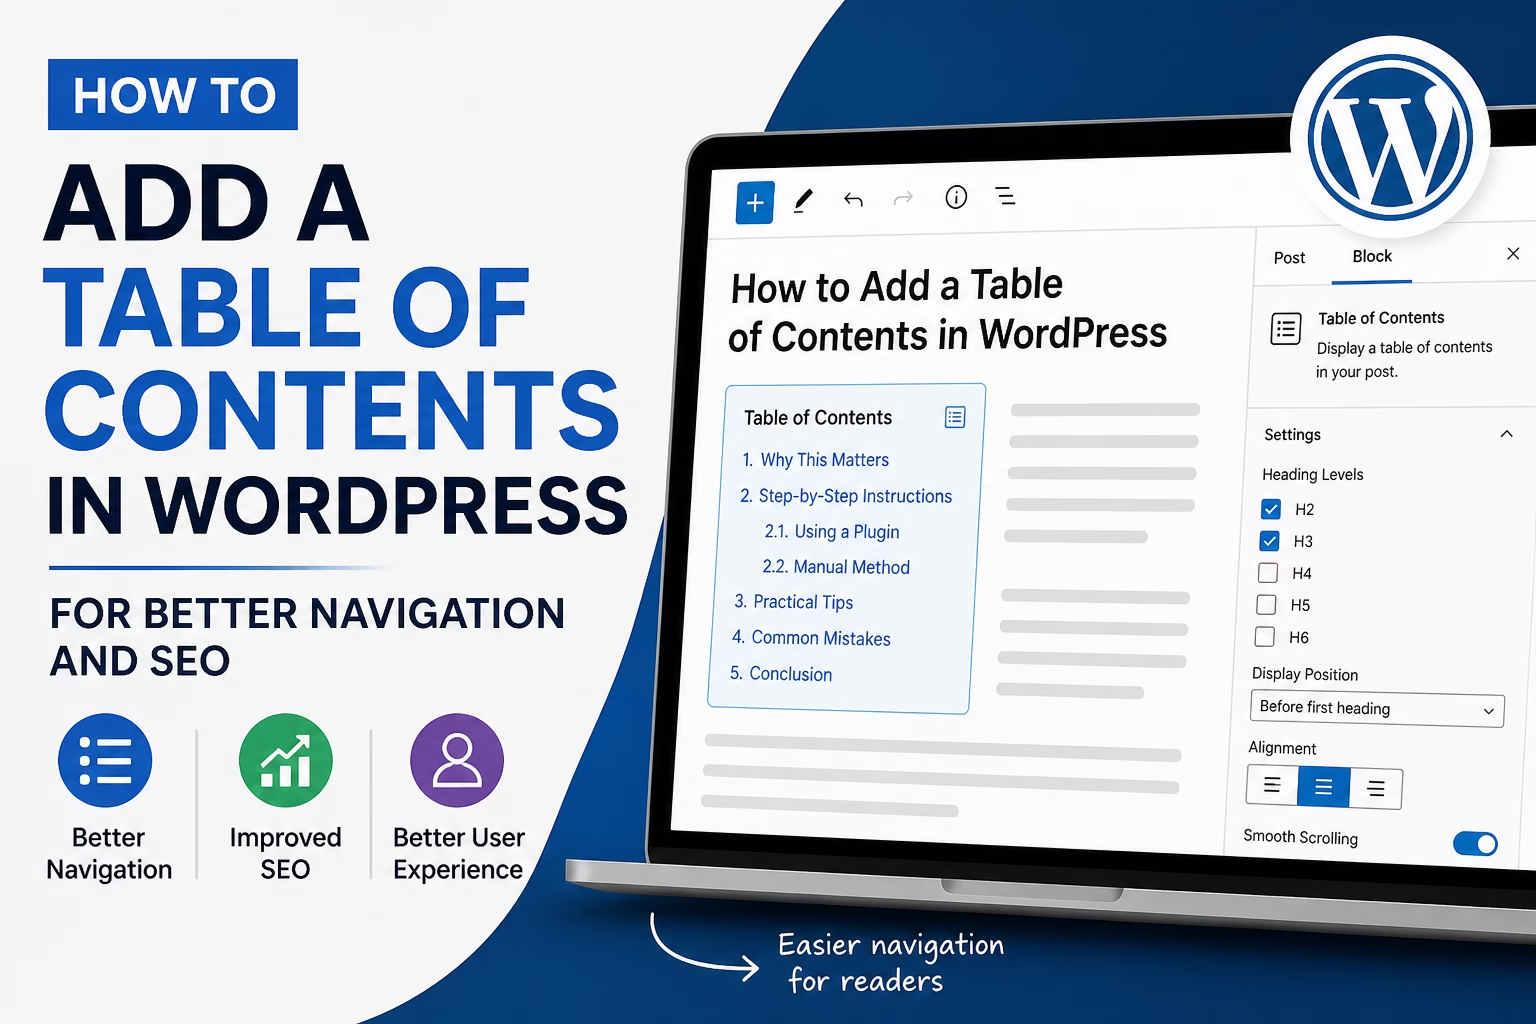
- Select which headings to include (H2, H3 is a good starting point)
Step 3: Choose Display Position
- Before the first heading (most common)
- After the first paragraph
- Manually insert using a block or shortcode
I usually place it just below the introduction so readers see it early without interrupting the opening.
Step 4: Style the Table of Contents
- Adjust width, alignment, and font size
- Enable smooth scrolling if available
- Set a collapsible option for long articles
Step 5: Save and Test
- Open a blog post
- Click links in the table of contents
- Make sure they scroll to the correct sections
Option 2: Create a Table of Contents Manually
This gives more control but takes more time.
Step 1: Add IDs to Headings
In the WordPress block editor:
- Click on a heading block
- Go to Advanced settings
- Add an HTML anchor (example:
table-of-contents)
Step 2: Create a List of Links
At the top of your post:
- Add a list block
- Link each item to a heading using
#anchor-name
Example:
#step-by-step-instructions#common-mistakes
Step 3: Test Links
Click each link to confirm it jumps to the correct section.
In my experience, manual tables are useful when you want full control over wording or structure, but they’re not ideal for frequent updates.
Practical Tips or Observations
- Keep your headings consistent. A messy heading structure leads to a messy table of contents. If you need help with heading hierarchy, see this guide on how to use heading tags properly in WordPress.
- Stick to H2 for main sections and H3 for subsections. This creates a clean hierarchy.
- Avoid including H4 and below unless the article is very technical.
- Use clear, descriptive headings. These are what show up in the table of contents.
When I review sites, one common issue is overcomplicated tables of contents with too many levels. Simpler structures usually perform better.
Another thing I recommend is enabling a “sticky” table of contents for longer posts, especially on desktop. It keeps navigation available without forcing users to scroll back up.
Common Mistakes
1. Including Too Many Headings
If every small subsection appears in the table of contents, it becomes overwhelming.
2. Poor Heading Structure
Skipping from H2 to H4 or mixing levels randomly makes navigation confusing.
3. Placing It Too Low on the Page
If users don’t see it early, it loses most of its value.
4. Not Testing Anchor Links
Broken links make the feature useless. Always test after publishing.
5. Ignoring Mobile Layout
A wide or cluttered table of contents can disrupt mobile usability.
When to Use This vs Alternatives
Use a table of contents when:
- Your article is long (usually 1,000+ words)
- You cover multiple sections or steps
- Readers may want to jump between sections
Consider alternatives when:
- The post is short and simple
- The content is linear and meant to be read from top to bottom
- You’re using a landing page format instead of an article
For shorter posts, clear headings alone are usually enough.
Conclusion
A table of contents is one of the simplest upgrades you can make to a long WordPress post. It improves navigation, supports SEO, and helps readers engage with your content more effectively.
For most sites, using a plugin is the fastest way to implement it correctly. Focus on clean headings, simple structure, and proper placement, and it will work without much ongoing effort.

Etienne Basson works with website systems, SEO-driven site architecture, and technical implementation. He writes practical guides on building, structuring, and optimizing websites for long-term growth.