At some point, most WordPress sites reach the same question: how do you actually sell something on it?
You might already have pages, blog posts, and even some traffic. But turning that into a working online store is where things usually get confusing. Products, payments, shipping, taxes — it’s not just one feature, it’s a full system.
In most sites I build, WooCommerce is the default way to handle this. It integrates directly into WordPress, and once it’s set up properly, it gives you a solid foundation to sell physical or digital products without switching platforms.
Quick Answer / Summary
To create a WooCommerce store in WordPress, you install the WooCommerce plugin, run the setup wizard, add your products, configure payments and shipping, and make sure your store pages are working before launch.
Why This Matters
Setting up a store correctly from the beginning saves a lot of problems later. Poor configuration can lead to:
- Failed payments
- Incorrect shipping costs
- Missing order emails
- Confusing checkout experience
A clean setup means your store works reliably, and visitors can actually complete purchases without friction.
Step-by-Step Instructions
1. Install WooCommerce
From your WordPress dashboard:
- Go to Plugins → Add New
- Search for WooCommerce
- Click Install → Activate
Once activated, WooCommerce launches a setup wizard.
2. Run the Setup Wizard
The wizard handles the basics:
- Store location
- Currency
- Type of products (physical, digital, services)
- Basic business details
You can skip optional features if you want a simpler setup.
In my experience, it’s better to keep this lean at first and add features later as needed.
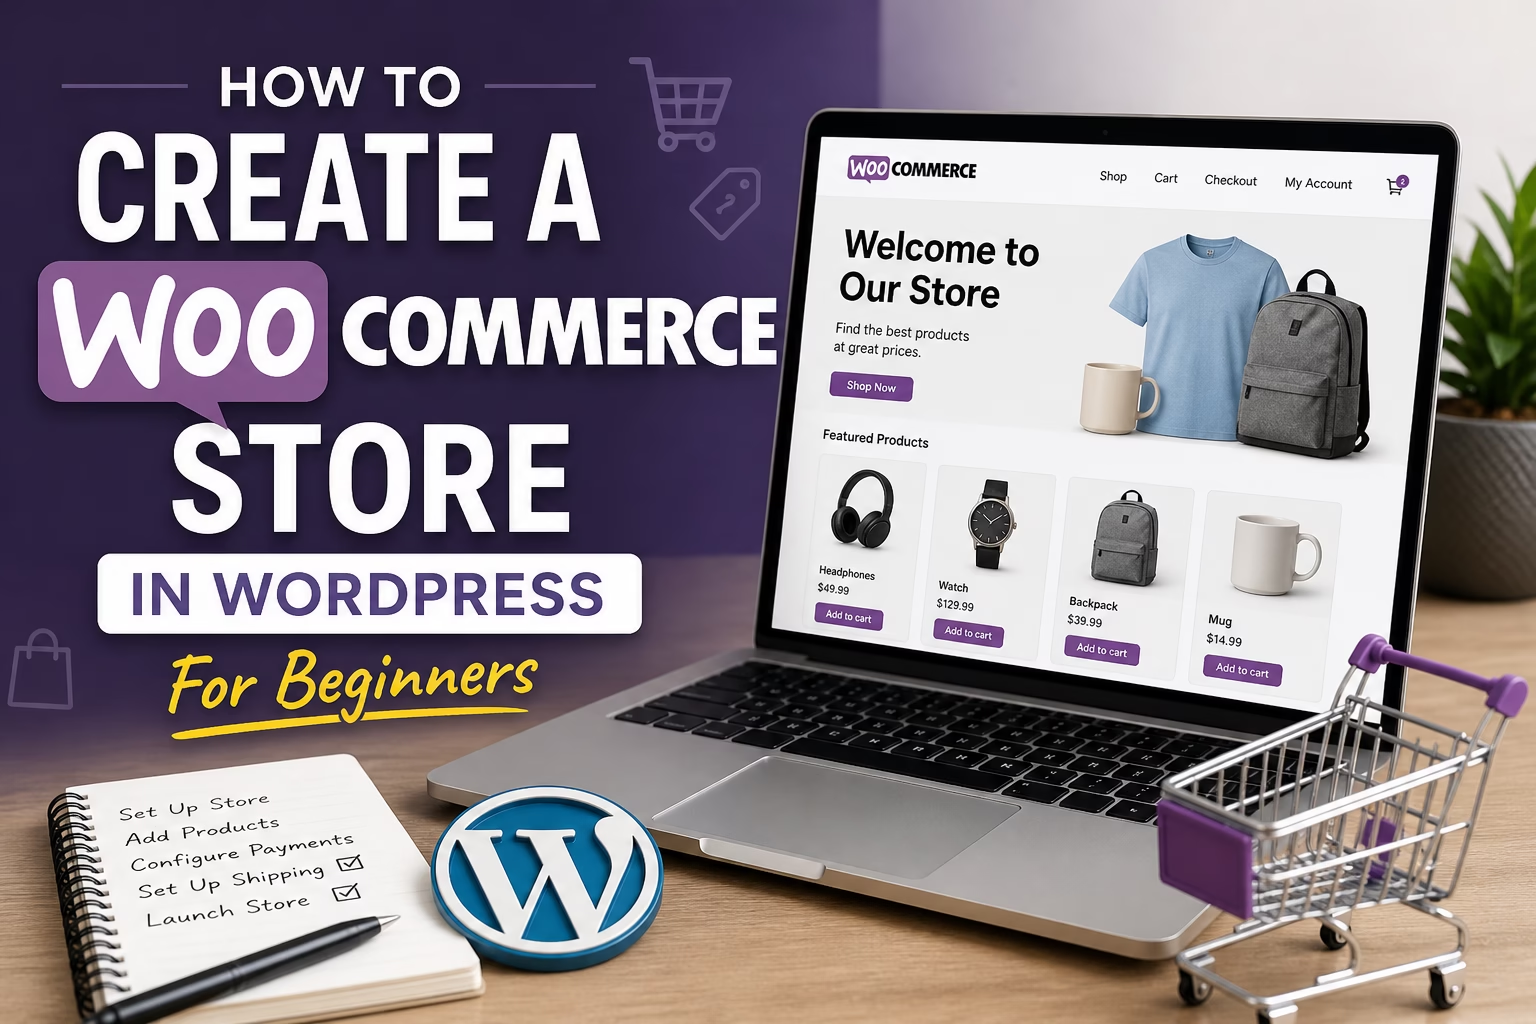
3. Create Core Store Pages
WooCommerce automatically creates essential pages:
- Shop
- Cart
- Checkout
- My Account
Check them under Pages and make sure they exist and are published. The My Account page is especially important, since it handles customer logins, order tracking, and account details. If you want to configure it properly, follow this guide on setting up WooCommerce customer accounts.
If anything is missing, you can regenerate them in:
WooCommerce → Status → Tools
4. Add Your First Product
Go to:
Products → Add New
Fill in:
- Product name
- Description
- Product image
- Price
Then configure:
- Product type (simple, variable, digital)
- Inventory (optional)
- Shipping details
Start with one product just to confirm everything works. If you need a detailed walkthrough, follow this guide on how to add products in WooCommerce.
5. Set Up Payment Methods
Go to:
WooCommerce → Settings → Payments
Common options:
- Stripe (cards)
- PayPal
- Bank transfer
Enable your preferred method and follow the setup steps. For a complete walkthrough of payments, shipping, and tax configuration, follow this guide on setting up WooCommerce payments, shipping, and taxes. For Stripe specifically, you can also review the official setup guide here: Stripe payment setup documentation.
When I set this up on WordPress sites, I usually start with Stripe because it handles cards directly and integrates smoothly. If you plan to charge customers automatically every month or year, you can also follow this guide on setting up WooCommerce subscriptions.
6. Configure Shipping
Go to:
WooCommerce → Settings → Shipping
Set up:
- Shipping zones (countries or regions)
- Shipping methods (flat rate, free shipping, etc.)
If you’re selling locally, keep this simple at first. You can always refine it later.
7. Configure Taxes (If Needed)
Under:
WooCommerce → Settings → Tax
Enable taxes if required for your region.
WooCommerce can calculate taxes automatically, but you still need to confirm rates are correct for your country.
8. Check Email Settings
Go to:
WooCommerce → Settings → Emails
Make sure order emails are enabled and sent to the correct address.
If your site already uses SMTP, this will help prevent missing order notifications. If you have not configured it yet, follow this guide on how to set up SMTP in WordPress before relying on store emails.
9. Test the Checkout Process
Before launching:
- Add a product to cart
- Go through checkout
- Use test payment methods
Make sure:
- Payments go through
- Confirmation emails arrive
- Orders appear in WooCommerce
This step is often skipped, but it’s one of the most important. Once test orders are working correctly, the next step is understanding how to manage WooCommerce orders so you can process, update, and complete orders properly.
Practical Tips or Observations
- Keep your first store simple. One product is enough to test everything.
- Use clear product images. In most stores I review, weak visuals reduce conversions more than anything else.
- Don’t install too many WooCommerce extensions early. Start minimal and expand later.
- Make sure your checkout page is clean — unnecessary fields can hurt conversions.
Common Mistakes
1. Skipping test orders
This leads to broken checkout issues being discovered by real customers.
2. Overcomplicating shipping
Too many rules early on can create errors. Start simple.
3. Ignoring mobile experience
A large portion of users will check out on mobile. Always test it.
4. Not setting up email properly
If order emails fail, you lose visibility on sales.
5. Adding too many plugins
WooCommerce works well out of the box. Extra plugins should solve specific problems, not add complexity.
When to Use This vs Alternatives
WooCommerce is a good fit when:
- You already use WordPress
- You want full control over your store
- You plan to grow or customize features
Other options might be better if:
- You want an all-in-one hosted solution (Shopify)
- You don’t want to manage hosting or updates
- You prefer a simpler, less customizable setup
In most WordPress-based projects, WooCommerce is the most practical choice because it integrates directly with everything else on your site.
Conclusion
Creating a WooCommerce store is mostly about setting up a system that works reliably. Install the plugin, configure the basics, add a product, and test everything before going live.
Once the foundation is working, you can customize your WooCommerce shop page, improve design, optimize product pages, and refine the checkout process — but those only matter after the store itself functions properly.

Etienne Basson works with website systems, SEO-driven site architecture, and technical implementation. He writes practical guides on building, structuring, and optimizing websites for long-term growth.