When you first add products in WooCommerce, everything feels straightforward. You enter a name, set a price, upload an image, and you’re done. But as soon as you need to sell something with options—like a t-shirt in different sizes or colors—the simple product setup stops working.
This is where many WordPress users get stuck. I’ve seen it often on new stores: either every variation becomes a separate product (which quickly turns messy), or variations aren’t set up correctly, so customers can’t select options properly.
Product variations solve this, but only when they’re configured properly.
Quick Answer / Summary
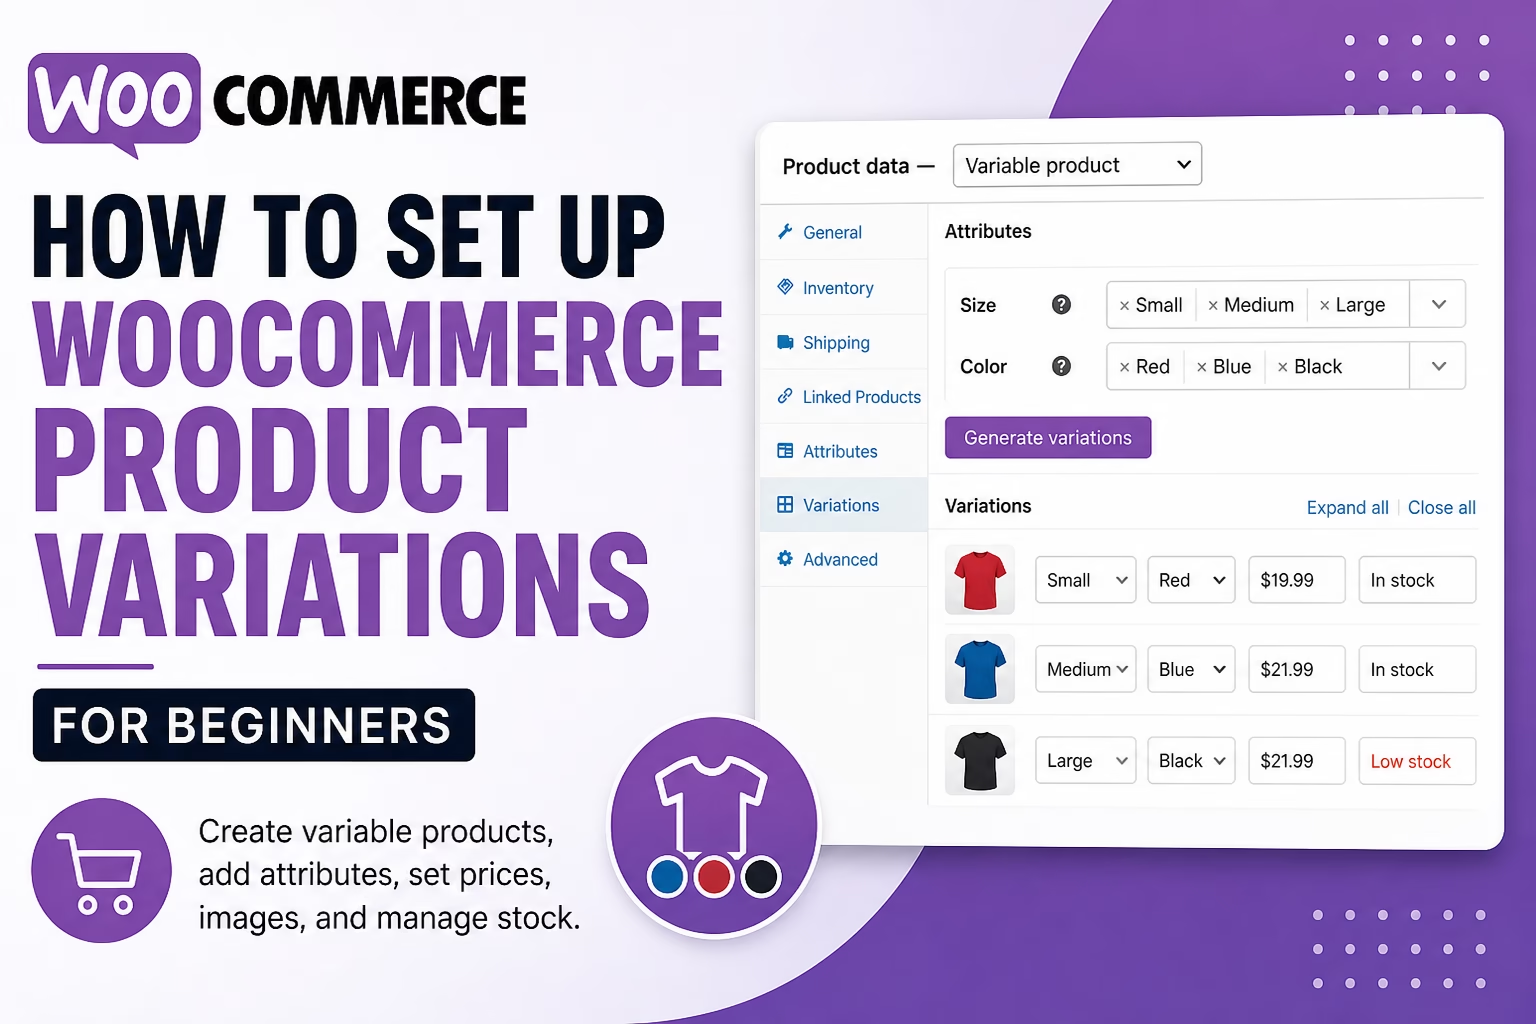
To set up WooCommerce product variations, you create a Variable Product, define attributes (such as size or color), and then generate variations that combine those attributes with specific prices, images, and stock settings.
Why This Matters
Setting up variations correctly affects more than just product display.
- It keeps your product catalog clean and organized
- It improves user experience by letting customers choose options easily
- It helps avoid duplicate products for each option
- It allows better inventory tracking per variation
In most stores I build, using variable products properly is one of the key differences between a site that feels professional and one that feels confusing.
Step-by-Step Instructions
1. Create a Variable Product
Go to your WordPress dashboard:
- Navigate to Products → Add New
- Enter your product title and description
- In the Product Data dropdown, select Variable product
This tells WooCommerce that the product will have selectable options.
2. Add Product Attributes
Attributes define the options customers will choose from.
- Go to the Attributes tab
- Click Add
- Enter a name (e.g., Size, Color)
- Add values (e.g., Small | Medium | Large)
- Check Used for variations
- Click Save attributes
If you skip the “Used for variations” option, WooCommerce won’t let you create variations later. This is a common mistake.
3. Create Variations
Now turn those attributes into actual purchasable options.
- Go to the Variations tab
- Select Create variations from all attributes
- Click Go
WooCommerce will automatically generate combinations (e.g., Small + Red, Medium + Blue).
Alternatively, you can add variations manually if you want more control.
4. Set Prices, Stock, and Images
Each variation needs its own settings.
- Click on a variation
- Set a price (required)
- Add a stock quantity (optional but recommended)
- Upload a variation image (helps customers see the difference)
In my experience, adding images per variation makes a noticeable difference in usability, especially for products like clothing or physical items.
5. Configure Default Selection (Optional)
You can pre-select options for customers.
- Go back to the main product settings
- Choose default values for attributes
This can speed up the buying process, especially if one option is the most popular.
6. Publish the Product
Once everything is set:
- Add a main product image
- Assign categories
- Click Publish
Your product will now show dropdown selectors for each attribute on the product page.
Practical Tips or Observations
- Keep attributes simple
Don’t overload products with too many options. Two or three attributes are usually enough. - Use global attributes when possible
If you reuse sizes or colors across products, create them under Products → Attributes. This keeps things consistent. - Check mobile display
Variation dropdowns can feel cramped on smaller screens. Always preview your product page on mobile. - Use clear naming
Instead of “Option 1,” use real labels like “Size” or “Material.” This sounds obvious, but I still see vague labels on live stores.
Common Mistakes
1. Forgetting to set prices
Variations won’t show as purchasable unless each one has a price.
2. Not enabling “Used for variations”
Without this, attributes won’t appear in the variation setup.
3. Creating separate products instead of variations
This leads to duplicate listings and a cluttered shop.
4. Ignoring stock per variation
If you sell physical products, stock should be tracked per variation, not just at the product level.
5. Too many variations at once
Large combinations (like 5 sizes × 6 colors × 4 materials) can slow down your site and make management difficult.
When to Use This vs Alternatives
Use variable products when:
- You sell the same product with different options (size, color, style)
- Customers need to select options before purchase
- You want to manage inventory per option
Consider alternatives when:
- Products are completely different → use separate products
- Options don’t affect price or stock → use custom fields or add-ons
- You need advanced customization (engraving, uploads) → use a product add-ons plugin
In some projects, I use both variations and add-ons together, depending on how flexible the product needs to be. WooCommerce’s official documentation also covers advanced setups if you need deeper control: https://woocommerce.com/document/variable-product/.
Conclusion
Setting up WooCommerce product variations is mostly about structure. Once attributes and variations are configured correctly, everything else becomes easier—pricing, stock, and product display all fall into place.
If you’re building a store, getting this right early saves a lot of time later and keeps your catalog clean as your products grow. For the earlier setup steps, see my guide on how to create a WooCommerce store in WordPress.

Etienne Basson works with website systems, SEO-driven site architecture, and technical implementation. He writes practical guides on building, structuring, and optimizing websites for long-term growth.