When someone fills out a contact form or signs up on your website, most WordPress sites simply show a confirmation message and stop there. That works, but it leaves a gap.
In most sites I build, that moment right after a form submission is one of the easiest opportunities to build trust or guide the visitor to the next step. Without an automated email, the interaction ends too quickly. Visitors don’t always remember your site, and they often expect some kind of confirmation in their inbox.
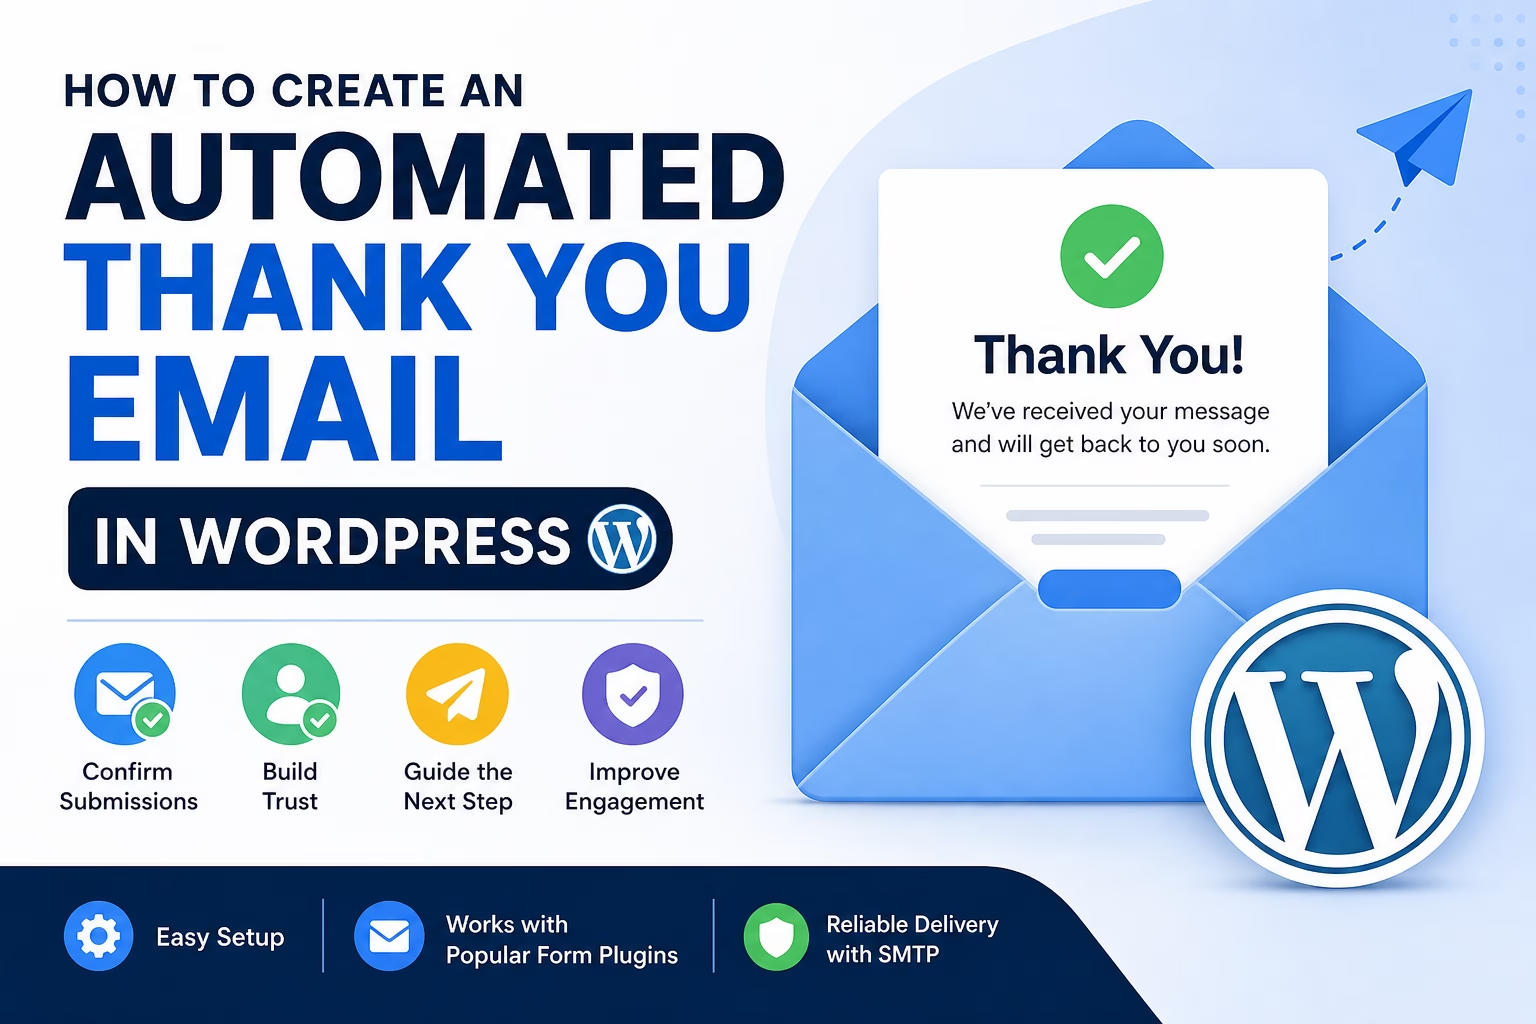
An automated thank you email solves that. It confirms the action, reassures the user, and gives you a chance to guide what happens next.
Quick Answer / Summary
To create an automated thank you email in WordPress, you need to:
- Use a form plugin that supports email notifications
- Configure a confirmation email for the user (not just the admin)
- Set a proper “From” email using SMTP
- Customize the message with clear next steps
- Test the email to make sure it delivers correctly
Most form plugins like WPForms, Contact Form 7, or Fluent Forms already include this feature—you just need to enable and configure it properly.
Why This Matters
A simple confirmation message on the page is easy to miss. An email does a few important things:
- Confirms the form worked (reduces uncertainty)
- Builds trust by showing your site is properly set up
- Keeps your brand in the user’s inbox
- Gives you a chance to guide the next action (reply, read, book, download)
When I review new websites, this is often missing or poorly configured. Either the email goes only to the site owner, or it lands in spam, or it contains a generic message that doesn’t help the user.
Step-by-Step Instructions
1. Make Sure Your Form Plugin Supports User Emails
Most modern form plugins do this. Common options include:
- WPForms
- Contact Form 7
- Fluent Forms
- Gravity Forms
If your current form only sends notifications to you, check its settings for “User Notification” or “Confirmation Email.”
2. Create or Edit Your Form
Go to your form in WordPress:
- Open your form builder
- Locate the Notifications or Emails section
You should see at least one notification (usually sent to the admin email).
3. Add a User Confirmation Email
Create a new notification for the user.
Set it up like this:
- Send To Email Address: Use the form field for the user’s email (for example
{email}or similar depending on the plugin) - Subject Line: Keep it clear and specific
- From Name: Your website or brand name
- From Email: Use your domain email (e.g.
hello@yourdomain.com)
Avoid using a Gmail or Outlook address here. This is one of the most common causes of emails going to spam.
4. Write the Thank You Email Content
Keep the message simple and useful. A good structure is:
- A short thank you
- Confirmation of what they submitted
- What happens next
- Optional next step or link
Example structure:
- Thank them for contacting you
- Let them know you received the message
- Tell them when they can expect a reply
- Link to a useful page (optional)
In most sites I build, I keep these emails short. Long emails reduce clarity and are often ignored.
5. Set Up SMTP for Reliable Delivery
Even if your email is configured correctly, WordPress may not deliver it reliably without SMTP. If you have not configured this yet, follow the full guide on how to set up SMTP in WordPress before relying on automated form emails.
To fix this:
- Install an SMTP plugin (like WP Mail SMTP)
- Connect it to an email service (Gmail, Outlook, or your hosting email) using proper authentication methods like SPF, DKIM, and DMARC (learn how email authentication works)
- Authenticate your domain
This step is critical. Without it, emails may:
- Go to spam
- Not be delivered at all
- Trigger warnings for the user
6. Test the Email
Always test before going live.
- Submit your own form
- Check if the email arrives
- Check spam folder
- Verify formatting and links
I usually test with at least two different email providers (for example Gmail and Outlook) to make sure delivery is consistent.
Practical Tips or Observations
- Keep subject lines clear:
Example: “We received your message” works better than something vague - Set expectations:
If you reply within 24 hours, say it - Avoid attachments:
They can trigger spam filters - Use plain formatting:
Over-designed emails often reduce deliverability - Include a next step:
For example: read a guide, view services, or reply to the email
In my experience, simple emails perform better than complex ones.
Common Mistakes
1. Only sending emails to the admin
This is very common. The user never gets confirmation.
2. Using a non-domain “From” email
Using Gmail or Yahoo instead of your domain often causes delivery issues.
3. Not setting up SMTP
Without SMTP, many emails fail silently.
4. Writing overly long emails
Users rarely read them. Keep it short and focused.
5. No clear next step
A thank you email is a chance to guide the user—don’t waste it.
When to Use This vs Alternatives
An automated thank you email works best for:
- Contact forms
- Service inquiries
- Newsletter signups
- Simple lead generation
You might consider alternatives when:
- You need complex automation → use an email marketing tool (like Mailchimp or ConvertKit)
- You want follow-up sequences → use autoresponders or a welcome email sequence in WordPress
- You need CRM tracking → use tools like HubSpot
For most beginner WordPress sites, a simple automated email inside the form plugin is enough.
Conclusion
An automated thank you email is a small setup that makes a big difference. It confirms the form worked, builds trust, and gives you control over what happens next.
Set up a user notification in your form plugin, connect SMTP for delivery, and keep the message clear and short. Once it’s in place, every form submission becomes a more complete interaction instead of a dead end.

Etienne Basson works with website systems, SEO-driven site architecture, and technical implementation. He writes practical guides on building, structuring, and optimizing websites for long-term growth.