Most new website owners install Google Analytics and stop there. That gives you traffic numbers, page views, and general reports, but it does not show what visitors are actually doing on the page.
When I review WordPress websites that are not converting well, one of the most useful tools is usually Microsoft Clarity. It helps you see where people click, how far they scroll, where they stop reading, and where they get frustrated. Instead of guessing why visitors leave a page, you can watch real behavior recordings and identify problems directly.
For beginners, this is one of the easiest ways to improve a website without needing advanced analytics knowledge.
Quick Answer
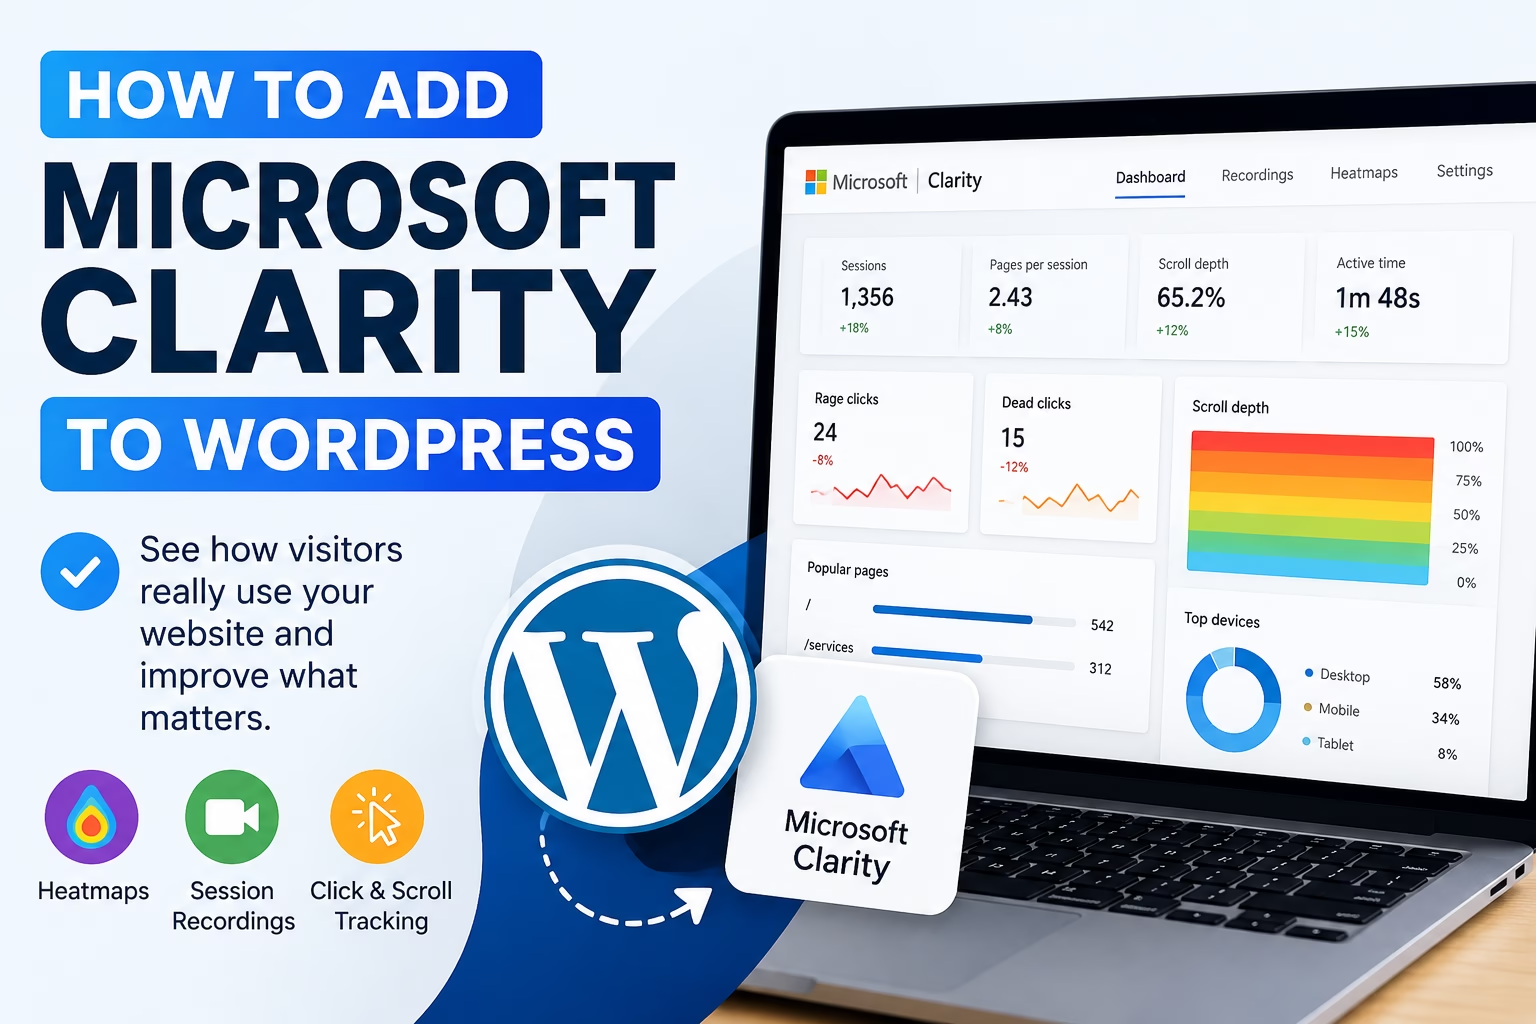
Microsoft Clarity is a free website behavior analytics tool that works with WordPress. It records anonymous visitor sessions, creates heatmaps, tracks scrolling and clicks, and helps you identify usability problems on your website.
You can add Microsoft Clarity to WordPress by:
- Creating a free Clarity account
- Adding your website
- Installing the tracking code manually or through a plugin
- Verifying that data is being collected
Once installed, Clarity begins recording visitor behavior automatically.
Why Microsoft Clarity Matters
Traffic alone does not explain why a page performs well or poorly.
For example:
- A page may get traffic but no conversions
- Visitors may stop scrolling halfway through the content
- Mobile users may struggle with button placement
- Important calls to action may be ignored
- Navigation menus may confuse visitors
Google Analytics can show bounce rates and time on page, but it does not visually show visitor behavior.
Microsoft Clarity fills that gap with:
- Heatmaps
- Session recordings
- Click tracking
- Scroll tracking
- Rage click detection
- Dead click detection
In my experience, Clarity often reveals design or usability issues within a few days of installation, especially on landing pages and service pages.
Step 1: Create a Microsoft Clarity Account
Go to the Microsoft Clarity website and sign in with a Microsoft, Google, or Facebook account.
After signing in:
- Click New Project
- Enter your website name
- Add your website URL
- Choose your category
- Create the project
Clarity will generate a tracking code for your website.
Step 2: Add Microsoft Clarity to WordPress
There are two common ways to install Clarity on WordPress.
Option 1: Use a Plugin (Recommended for Beginners)
The easiest method is using a plugin.
I usually recommend this approach for beginners because it avoids editing theme files and makes tracking easier to manage later.
A few common options include:
- Microsoft Clarity plugin
- Site Kit integrations
- Header and footer code plugins
After installing the plugin:
- Open the plugin settings
- Paste your Clarity Project ID or tracking code
- Save the settings
- Clear your website cache if caching is enabled
That is usually enough to start collecting data.
Option 2: Add the Tracking Code Manually
If you prefer not to use another plugin, you can add the Clarity script manually.
Copy the tracking script from your Clarity dashboard and place it inside the <head> section of your WordPress site.
You can do this using:
- A child theme
- A code snippets plugin
- A header/footer script plugin
Avoid editing your main theme directly because theme updates can overwrite changes.
Step 3: Verify That Clarity Is Working
After installation:
- Visit your website in a browser
- Navigate through a few pages
- Return to the Clarity dashboard
- Wait for data processing
Clarity may take a short time before recordings and heatmaps appear.
Once active, you should start seeing:
- Active users
- Session recordings
- Heatmaps
- Device reports
- Popular pages
Understanding Microsoft Clarity Features
Session Recordings
Session recordings let you watch anonymous visitor sessions on your site.
You can see:
- Mouse movement
- Scrolling behavior
- Navigation paths
- Click patterns
- Frustration signals
This is often the fastest way to identify usability issues.
For example, I frequently see visitors trying to click non-clickable elements because they visually resemble buttons. Without recordings, this problem is easy to miss.
Heatmaps
Heatmaps visually display user interaction on a page.
You can identify:
- Which buttons get attention
- Which sections users ignore
- How far users scroll
- Where visitors focus most
This is especially useful for:
- Homepage layouts
- Landing pages
- Sales pages
- Blog content
- WooCommerce product pages
Rage Clicks
Rage clicks happen when visitors repeatedly click an element because they think something is broken.
This usually indicates:
- Confusing design
- Broken links
- Slow loading elements
- Buttons that do not respond properly
Clarity automatically flags these issues.
Dead Clicks
Dead clicks occur when users click something that has no function.
This often happens with:
- Images that look clickable
- Styled text blocks
- Decorative icons
- Non-functional buttons
These small usability problems can reduce conversions significantly over time.
Practical Tips for Using Microsoft Clarity
Focus on Important Pages First
Do not try to review every recording immediately.
Start with pages that matter most:
- Homepage
- Service pages
- Landing pages
- Checkout pages
- Contact pages
- Lead generation pages
These pages usually reveal the biggest usability issues.
Compare Mobile and Desktop Behavior
Mobile visitors often behave differently from desktop users.
I regularly see websites that work well on desktop but become difficult to use on smaller screens because:
- Buttons are too small
- Menus overlap
- Text spacing breaks
- Popups block content
Clarity makes these problems easy to identify.
Watch Real Visitor Paths
Instead of only looking at individual pages, review how visitors move through the website.
You may notice:
- Navigation confusion
- Pages causing drop-offs
- Weak calls to action
- Poor internal linking
This can help improve overall site structure and conversion flow.
Common Mistakes to Avoid
Installing Multiple Tracking Scripts
One of the most common mistakes is accidentally installing Clarity twice.
This can happen when:
- A plugin adds the script
- Google Tag Manager also adds it
- Manual code is already present
Double installations can create inaccurate tracking data.
Ignoring Privacy and Cookie Policies
Even though Clarity masks sensitive information automatically, you should still mention analytics tracking in your privacy policy.
If your site already uses a cookie consent system, make sure analytics tracking is handled correctly.
Watching Too Many Random Recordings
Not every session recording is useful.
Focus on:
- High-traffic pages
- Rage clicks
- Dead clicks
- Pages with poor conversions
- Pages with high exit rates
That gives better insights than randomly reviewing sessions.
Microsoft Clarity vs Google Analytics
Microsoft Clarity and Google Analytics work best together rather than replacing each other.
Google Analytics Helps With:
- Traffic sources
- User demographics
- Conversion tracking
- Search traffic
- Campaign reporting
Microsoft Clarity Helps With:
- User behavior visualization
- Heatmaps
- Session recordings
- UX problem detection
- Scroll behavior
In most WordPress sites I build, both tools are installed together because they solve different problems.
Should You Use Google Tag Manager Instead?
If you already use Google Tag Manager in WordPress, you can install Microsoft Clarity through GTM instead of adding the script directly to WordPress.
This works well for websites managing multiple tracking tools.
However, for beginners, direct installation is usually simpler and easier to troubleshoot.
Conclusion
Microsoft Clarity is one of the easiest ways to understand how visitors actually use your WordPress website.
Instead of relying only on traffic numbers, you can see real behavior through heatmaps, scroll tracking, and session recordings. This makes it much easier to improve navigation, identify usability problems, and optimize important pages.
If you want to go further with behaviour analytics, adding Hotjar to WordPress gives you additional feedback tools and more refined session filtering alongside heatmaps and recordings.
For most beginner WordPress websites, Clarity provides valuable insights within the first few days after installation, especially when combined with Google Analytics and Search Console.

Etienne Basson works with website systems, SEO-driven site architecture, and technical implementation. He writes practical guides on building, structuring, and optimizing websites for long-term growth.