
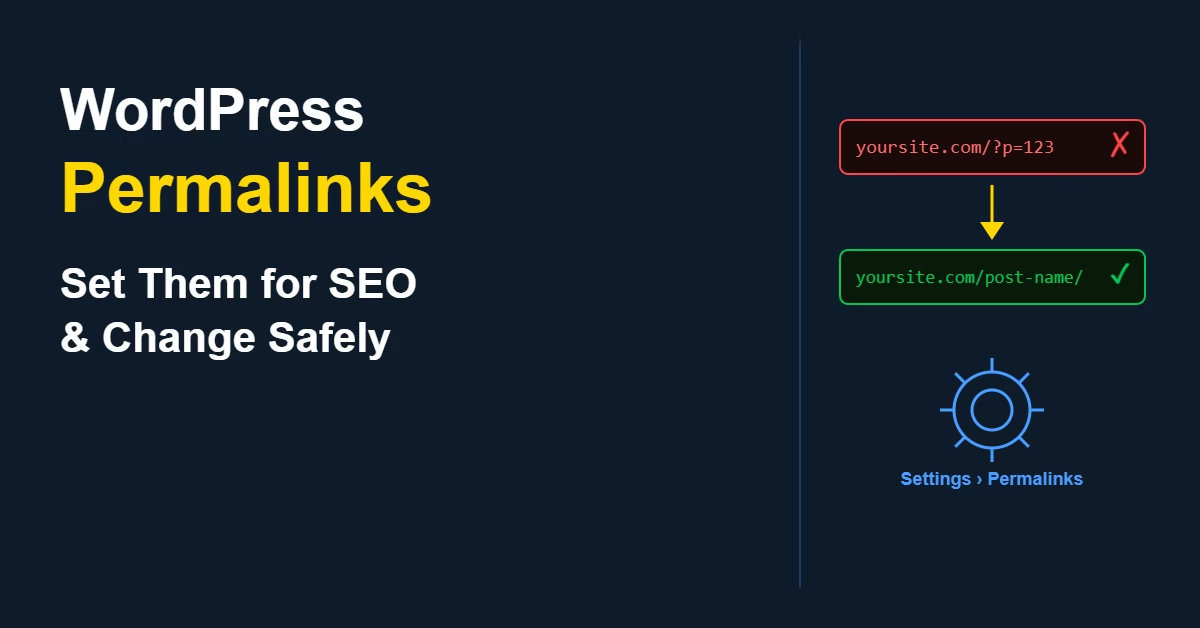
Permalinks are one of those WordPress settings that cause the most trouble when left on default. The out-of-the-box URL structure produces addresses like yoursite.com/?p=123 — a numeric query string that tells visitors and search engines nothing about the page they’re about to visit.
Most site owners don’t notice this until they’ve already published content. At that point, changing the structure gets more complicated because every existing URL changes, which means setting up redirects to avoid broken links and lost rankings. Getting it right before you publish — or changing it safely if you haven’t — is worth doing early.
Quick Answer
Go to Settings > Permalinks in your WordPress dashboard and select Post name. This gives you clean, readable URLs like yoursite.com/your-post-title/. Save changes. If you’re changing an existing site’s permalinks, install a redirect plugin first and verify all old URLs are covered after the switch.
Why Permalink Structure Matters
The URL is one of the first signals a search engine reads about a page. A clean, descriptive URL reinforces what the page is about and makes it easier for both crawlers and readers to understand the content before clicking. Readable URLs also perform better when shared — a link that includes the post topic is more trustworthy and clickable than one containing a numeric ID.
On most sites I build, I set the permalink structure to Post name immediately during setup. It’s the clearest option for both SEO and usability, and it avoids the extra work of migrating URLs later.
How to Set Your WordPress Permalink Structure
Step 1: Open Permalink Settings
In your WordPress dashboard, go to Settings > Permalinks. This opens the permalink settings screen where you can choose your URL structure.
Step 2: Choose Post Name
WordPress offers six permalink options:
- Plain —
yoursite.com/?p=123. The default, and the worst choice for SEO. - Day and name —
yoursite.com/2024/06/08/post-name/. Includes the full date, which visually dates your content. - Month and name —
yoursite.com/2024/06/post-name/. Same problem, slightly shorter. - Numeric —
yoursite.com/archives/123. Still numeric, still not useful. - Post name —
yoursite.com/post-name/. Clean, readable, and recommended. - Custom structure — Lets you build a pattern from available tags.
Select Post name.
Step 3: Save Changes
Click Save Changes at the bottom of the screen. WordPress updates the rewrite rules automatically. On most hosting setups this takes effect immediately — no server restart needed.
How to Change Permalinks Safely on an Existing Site
Changing permalinks on a site with published content is more involved than setting them up initially. Every existing URL changes, which means incoming links from other sites will break, bookmarks will stop working, and search engines will see the old URLs as 404 errors until redirects are in place.
To handle this correctly you need 301 redirects from every old URL to its new equivalent. The Redirection plugin handles this well — it can detect URL changes automatically when activated before you switch the permalink structure. The full process for setting this up is covered in the guide to 301 redirects in WordPress.
Steps for Changing Safely
- Install and activate the Redirection plugin before making any changes.
- Run a site scan in Redirection to log your existing URLs.
- Go to Settings > Permalinks and switch to Post name.
- Save changes — Redirection will detect the URL changes and create 301 redirects automatically.
- Test a sample of old URLs to confirm they redirect correctly to the new structure.
- Check Google Search Console over the following weeks for any 404 errors that need additional redirects.
Practical Tips
Set the permalink structure before you publish anything. This is the cleanest approach — it avoids the redirect problem entirely. If you’re in the setup phase, go to Permalinks on day one before creating any content.
Avoid including dates in URLs. Day and name or Month and name structures make content look outdated as it ages. A post from 2022 looks stale in the URL even if the content is completely current. Post name keeps URLs evergreen.
Edit individual post slugs when needed. WordPress generates the slug from the post title by default. If your title is long, trim the slug in the post editor to keep the URL clean and focused on the main keyword.
Don’t change individual post slugs after publishing without setting up a redirect. Each slug change is a new URL — without a redirect the old URL becomes a 404.
Common Mistakes
Skipping redirects when changing structure. Without 301 redirects, every existing page becomes a 404 until search engines recrawl the new URLs. Any rankings, links, or traffic attached to the old URLs will be affected until the new URLs accumulate the same signals.
Changing structure multiple times. Each change creates a new layer of redirects. Redirect chains slow down crawling and can create coverage issues in Search Console. Choose a structure and stick with it.
Leaving the default Plain structure in place. Some sites never change this and end up with numeric URLs on all published content permanently. It’s fixable but requires more work the longer it’s left — every URL needs a redirect.
Post Name vs Custom Structure
For most WordPress sites, Post name is the right choice. It’s simple, readable, and produces clean URLs with no extra clutter.
A custom structure can be useful if you’re running a large publication where category-based URLs help organise content — for example, yoursite.com/wordpress/post-name/. The trade-off is that category changes affect URLs: if you ever reorganise your categories, you’re dealing with another round of redirects. For most sites the simplicity of Post name outweighs the categorisation benefit. You can handle content organisation through internal linking and category archive pages without baking it into the URL. The WordPress permalink documentation covers all available structure tags if you decide to build a custom format.
Permalinks are closely related to how WordPress handles duplicate URL signals — for a deeper look at that topic, the guide to canonical URLs in WordPress explains how search engines choose between competing versions of the same page.
Changing a permalink structure — especially on a site with existing indexed content — always requires a redirect plan. Every URL that changes needs a 301 redirect pointing the old address to the new one, or those pages start returning 404 errors and lose their search rankings. See how to set up 301 redirects in WordPress for the full process, including how to use the Redirection plugin to catch any missed URLs after the switch.
Conclusion
Set your permalink structure to Post name before publishing content. If you’re changing it on an existing site, install a redirect plugin first and verify that all old URLs are covered after the switch. Permalinks are one of the foundational settings covered in the step-by-step guide to building a WordPress website — getting them right early saves significant rework later.

Etienne Basson works with website systems, SEO-driven site architecture, and technical implementation. He writes practical guides on building, structuring, and optimizing websites for long-term growth.