Most new WordPress websites focus heavily on getting visitors to fill out a form, join an email list, book a service, or complete a purchase. But many sites completely ignore what happens immediately afterward.
That next step matters more than most beginners realize.
A thank you page gives visitors confirmation that their action worked, but it also helps guide them toward the next action you want them to take. On sites I build, thank you pages often improve engagement because visitors are already paying attention at that moment. Instead of leaving them at a dead end, you can direct them to another page, offer useful information, or encourage another conversion.
A proper thank you page is also useful for tracking conversions in Google Analytics and Google Ads. Without it, it becomes much harder to measure whether your forms, lead magnets, or booking pages are actually working.
Quick Answer
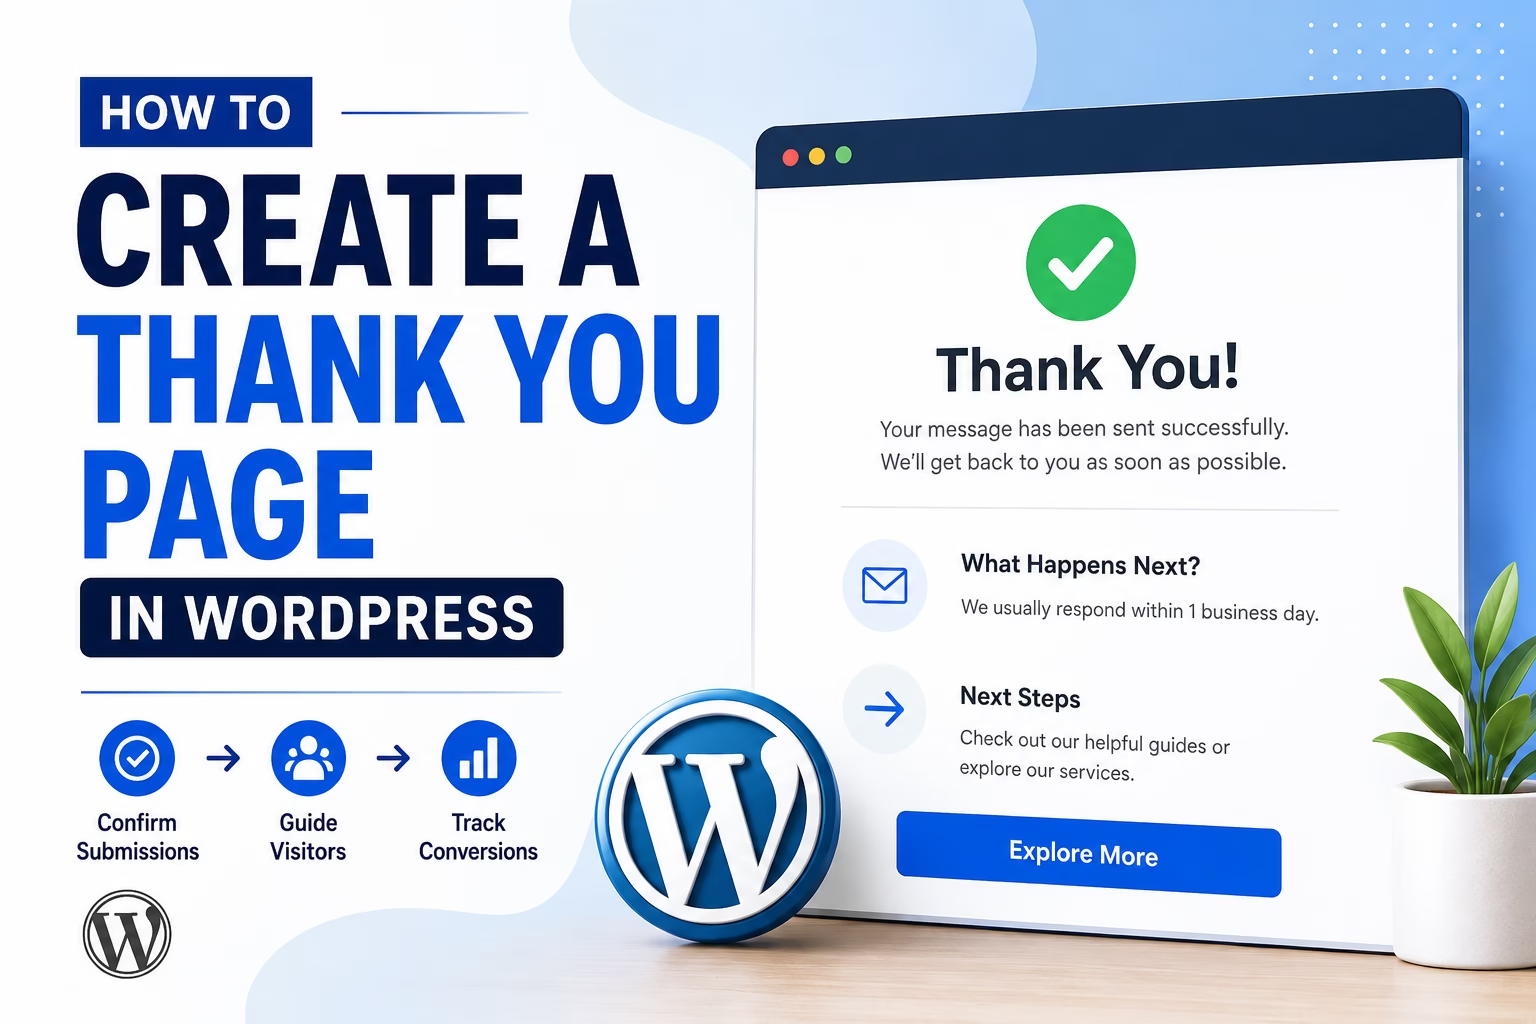
To create a thank you page in WordPress, create a normal page, add a confirmation message and next steps, then redirect visitors to it after they submit a form, join a newsletter, book an appointment, or complete a purchase.
Most websites use thank you pages for:
- Contact forms
- Newsletter signups
- Lead magnet downloads
- Online bookings
- WooCommerce purchases
The page should confirm the action, explain what happens next, and guide visitors toward another useful page or action.
Why a Thank You Page Matters
A lot of beginner websites simply display a small success message after a form submission. That works technically, but it misses several practical advantages.
A dedicated thank you page can help you:
- Track conversions more accurately
- Keep visitors on your website longer
- Improve lead generation
- Build trust with clear next steps
- Recommend related content or services
- Encourage social follows or newsletter engagement
In my experience, thank you pages work especially well when paired with lead magnets and contact forms because visitors are already engaged when they reach that stage.
Step 1: Create the Thank You Page in WordPress
In your WordPress dashboard:
- Go to Pages → Add New
- Create a page called:
- Thank You
- Thanks
- Thank You for Contacting Us
- Download Complete
- Set the permalink
For example:
yourwebsite.com/thank-you/
Try to keep the URL short and clear.
Step 2: Add the Main Confirmation Message
The first thing visitors should see is confirmation that their action worked successfully.
Examples:
- Thank you for contacting us.
- Your message has been sent successfully.
- Your download is ready.
- Your booking request has been received.
Keep this section simple and direct.
A common mistake is adding too much text before confirming the action. Visitors first want reassurance that the form or purchase worked correctly.
Step 3: Explain What Happens Next
After the confirmation message, explain the next step.
Examples:
For contact forms
- We usually reply within 1 business day.
- Check your inbox for a confirmation email.
For lead magnets
- Your download link is below.
- We also sent a copy to your email address.
For bookings
- Please check your email for booking confirmation details.
For WooCommerce orders
- Your order is now being processed.
- Shipping updates will be sent by email.
This reduces confusion and prevents duplicate form submissions.
Step 4: Add a Next Action
This is where thank you pages become much more useful than simple confirmation messages.
Instead of ending the visitor journey, give people another useful step.
Good options include:
- Link to a related blog post
- Invite users to join your newsletter
- Recommend a service page
- Offer a downloadable guide
- Link to your portfolio
- Encourage visitors to follow social media accounts
For example, if someone downloads a lead magnet about SEO, you could link them to:
- Your keyword research guide
- Your SEO setup tutorial
- Your internal linking article
This keeps visitors engaged naturally instead of forcing unnecessary sales language.
Step 5: Redirect Forms to the Thank You Page
Most WordPress form plugins allow redirects after submission.
WPForms
- Edit your form
- Go to Settings → Confirmations
- Change confirmation type to:
- Go to URL
- Enter your thank you page URL
Contact Form 7
Contact Form 7 usually requires a redirect plugin or custom script for redirects.
Fluent Forms
- Open the form settings
- Go to confirmation settings
- Add redirect URL
Gravity Forms
- Edit the form
- Open confirmation settings
- Select redirect
- Add the thank you page URL
When I set this up on WordPress sites, I usually test the form several times afterward because redirect problems are often caused by caching or plugin conflicts.
Step 6: Track Thank You Page Visits as Conversions
One major advantage of thank you pages is easier conversion tracking.
Instead of tracking button clicks, you can track visits to the thank you page itself.
For example:
/thank-you/
This works well with tools like Google Analytics key events and:
- Google Analytics
- Google Ads
- Meta Pixel
- Conversion tracking plugins
If someone reaches that page, the action was completed successfully.
This approach is usually more reliable than click tracking because it measures actual completed submissions rather than attempted actions.
What to Include on a Good Thank You Page
A practical thank you page usually contains:
- Clear confirmation message
- Short explanation of next steps
- Helpful follow-up links
- Simple layout
- Optional call to action
You generally do not need:
- Large menus
- Popups
- Excessive advertisements
- Long introductions
Keep the page focused.
Common Mistakes to Avoid
Forgetting to test the redirect
This is one of the most common issues.
Always test:
- Contact forms
- Mobile submissions
- Email notifications
- Redirect behavior
Creating a dead-end page
A thank you page should not stop the visitor journey completely.
Include at least one useful next step.
Making the page too sales-focused
Someone just completed an action successfully. Avoid overwhelming them with aggressive promotions immediately afterward.
Using generic confirmation text
Simple wording is fine, but overly generic pages can feel unfinished.
Even small additions like expected response times improve trust.
Indexing unnecessary thank you pages
Some thank you pages should not appear in Google search results.
For example:
- Lead magnet delivery pages
- Private download pages
- Purchase confirmation pages
In those cases, consider setting the page to noindex using your SEO plugin.
When to Use a Thank You Page vs a Simple Success Message
A simple success message works fine for small forms or low-priority actions.
But dedicated thank you pages are usually better when:
- You want conversion tracking
- You want to guide users to another page
- You are building funnels
- You offer downloads or lead magnets
- You run advertising campaigns
- You want more engagement after submission
For larger websites, thank you pages are usually the better long-term setup.
Final Thoughts
A thank you page is a small part of a WordPress website, but it can improve user experience, conversion tracking, and visitor engagement significantly.
The setup itself is simple. Create the page, confirm the action clearly, explain what happens next, and guide visitors toward another useful step.
On most websites I build, thank you pages become part of a larger conversion system that connects forms, lead magnets, analytics, and internal links together more effectively.

Etienne Basson works with website systems, SEO-driven site architecture, and technical implementation. He writes practical guides on building, structuring, and optimizing websites for long-term growth.