A lot of website owners focus heavily on getting visitors to sign up for their email list, but then nothing happens afterward. Someone downloads a lead magnet, fills out a contact form, or joins a newsletter, and the only thing they receive is a single confirmation email.
That usually leads to low engagement and missed opportunities. In most WordPress sites I build, the welcome sequence is where visitors first decide whether they actually want to keep hearing from the business. A good sequence builds trust, explains what the site offers, and guides people toward the next step without sounding aggressive.
The good news is that setting up a basic welcome email sequence in WordPress is not difficult once you understand the workflow.
Quick Answer
A welcome email sequence is a series of automated emails sent to new subscribers after they join your email list. In WordPress, this is usually created using an email marketing platform connected to your website through a plugin, form builder, or newsletter tool.
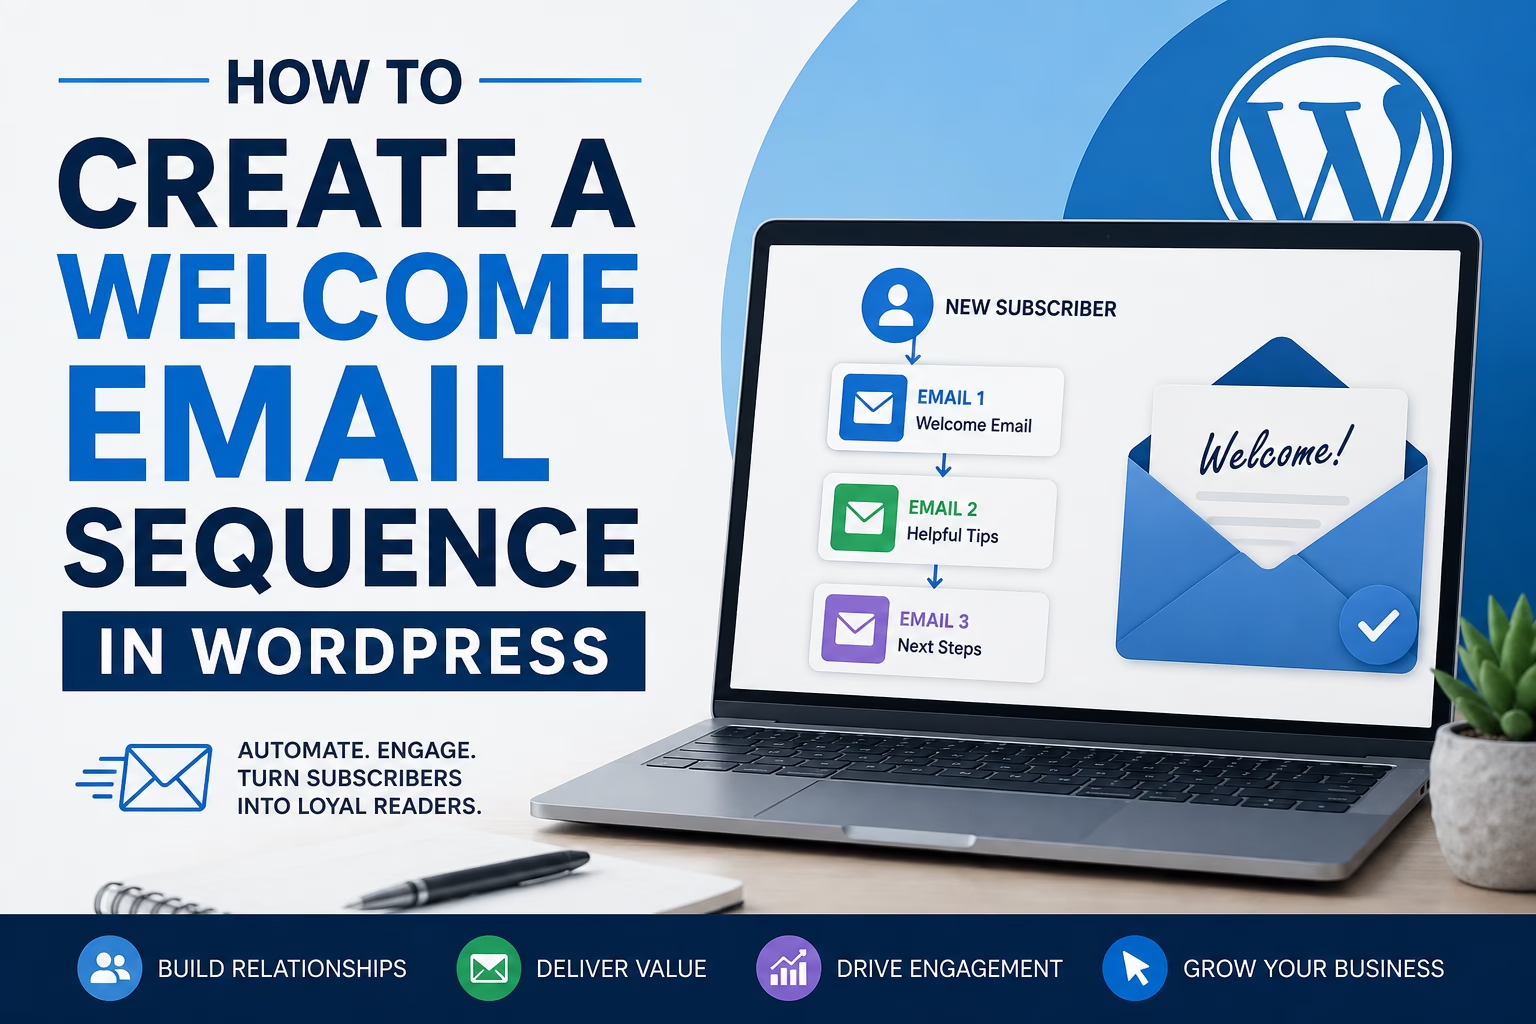
The typical setup looks like this:
- Visitor signs up through a form
- WordPress sends the subscriber to your email platform
- An automation starts
- Subscribers receive scheduled emails automatically
For most beginners, tools like MailerLite, Brevo, or Mailchimp are the easiest way to create and manage welcome sequences.
Why a Welcome Email Sequence Matters
A single confirmation email rarely keeps people engaged. Visitors often sign up quickly and then forget why they subscribed in the first place.
A welcome sequence helps you:
- Introduce your website or business
- Build trust with new subscribers
- Deliver lead magnets automatically
- Guide visitors toward products or services
- Increase return visits to your website
- Improve long-term email engagement
I usually recommend setting up at least a simple 3-email sequence for new websites. Even a short automation works far better than sending nothing after signup.
What You Need Before You Start
Before creating the sequence, make sure you already have:
- A WordPress website
- An email signup form
- An email marketing platform
- A lead magnet or newsletter offer (optional but helpful)
If you have not created these yet, these existing guides on your site naturally connect to this setup:
- “How to Add an Email Newsletter Signup Form to WordPress”
- “How to Create a Lead Magnet in WordPress for Beginners”
- “How to Create a Lead Capture Funnel in WordPress for Beginners”
Step 1: Choose an Email Marketing Platform
WordPress itself does not manage advanced email automations very well. Instead, most websites connect WordPress to a dedicated email platform.
Some beginner-friendly options include:
- MailerLite
- Brevo
- Mailchimp
- ConvertKit
For simple business websites, I usually recommend MailerLite or Brevo because they are easier to configure and have cleaner automation builders.
When choosing a platform, make sure it supports:
- Automation workflows
- WordPress integration
- Form connections
- Subscriber tagging or segmentation
- Welcome sequences
Step 2: Connect the Platform to WordPress
Most email platforms provide a WordPress plugin or integration method, and many official integrations can be found through the WordPress plugin directory.
The setup process usually involves:
- Installing the plugin
- Connecting your account with an API key
- Selecting the subscriber list
- Connecting your signup forms
For example, if you already use a contact form plugin, you can often send submissions directly into your email platform automatically.
When I set this up on WordPress sites, I always test the form myself before building the automation. A surprising number of websites collect submissions without actually adding subscribers correctly.
Step 3: Create Your Subscriber List
Inside your email platform, create a dedicated subscriber list or audience for new subscribers.
Examples include:
- Newsletter Subscribers
- Website Leads
- Free Guide Downloads
- Contact Form Leads
Keeping subscriber lists organized becomes important later when you create multiple automations or campaigns.
Step 4: Build the Welcome Email Sequence
Most platforms have an automation or workflow builder where you can create the sequence visually.
A beginner-friendly welcome sequence usually contains 3 emails.
Email 1: Immediate Welcome Email
Send this immediately after signup.
Purpose:
- Confirm the signup
- Deliver the lead magnet
- Introduce the website
- Set expectations
Example topics:
- Thank subscribers for joining
- Explain what emails they will receive
- Link to useful beginner content
Keep this email simple and friendly.
Email 2: Helpful Follow-Up Email
Send this 1–2 days later.
Purpose:
- Build trust
- Provide value
- Encourage engagement
You can include:
- Popular articles
- Tutorials
- Beginner resources
- Frequently asked questions
In my experience, this email often gets higher engagement than the first one because subscribers are no longer distracted by the signup process.
Email 3: Conversion or Next-Step Email
Send this 3–5 days later.
Purpose:
- Guide subscribers toward an action
- Promote a service or product
- Encourage replies or engagement
Examples:
- Book a consultation
- Read a cornerstone guide
- Explore services
- View products
- Join a course
The goal is not aggressive selling. The goal is helping subscribers move deeper into your website.
Step 5: Write Simple, Clear Emails
A common mistake is making automated emails overly long or overly polished.
Most welcome emails perform better when they sound natural and direct.
A few practical tips:
- Use short paragraphs
- Write conversationally
- Focus on one goal per email
- Avoid heavy promotional language
- Include a clear call to action
I usually recommend plain-text style emails for smaller websites because they often feel more personal and receive better engagement.
Step 6: Test the Entire Sequence
Before publishing the automation, test everything yourself.
Go through the full process:
- Submit the signup form
- Confirm subscriber delivery
- Check email formatting
- Test links
- Verify automation timing
- Check mobile display
Testing matters because automation problems are easy to miss until real subscribers start using the system.
Practical Tips for Better Results
Keep the Sequence Short Initially
Many beginners try to build huge automation systems immediately.
Start with:
- 3 emails
- 1 subscriber list
- 1 signup form
You can expand later once you understand how subscribers interact with your emails.
Use Existing Website Content
Your welcome sequence should guide people toward your best existing content.
For example:
- Link to beginner tutorials
- Link to your service page
- Link to your most useful blog posts
This improves internal traffic and keeps subscribers engaged with your website.
Add Personal Experience Naturally
Automated emails perform better when they sound human.
Simple lines like:
- “This is the process I use on most WordPress builds.”
- “I see this mistake frequently on new websites.”
can make emails feel more trustworthy without sounding artificial.
Common Mistakes to Avoid
Sending Too Many Emails
New subscribers can lose interest quickly if they receive daily promotional emails immediately after signup.
For most websites, spacing emails 1–3 days apart works well.
Forgetting Mobile Users
A large percentage of emails are opened on phones.
Always:
- Use short paragraphs
- Avoid giant images
- Test mobile formatting
Not Segmenting Subscribers Later
As your site grows, different subscribers may want different content.
For example:
- WooCommerce users
- SEO readers
- Website beginners
- Local business owners
Basic segmentation becomes useful over time.
Ignoring Email Deliverability
If emails go to spam folders, the sequence becomes useless.
I usually recommend configuring SMTP properly on WordPress and authenticating your domain with SPF and DKIM records.
When to Use This vs Alternatives
A welcome sequence works best when:
- You collect leads regularly
- You publish content consistently
- You offer services or products
- You want long-term subscriber engagement
However, not every website needs a complex automation system.
For example:
- Small brochure websites may only need a single follow-up email
- Ecommerce stores may rely more on abandoned cart and customer automations
- Membership sites may need onboarding sequences instead
The best setup depends on the type of website you run.
Conclusion
A welcome email sequence helps new subscribers stay connected to your website after they join your email list. Even a simple 3-email automation can improve engagement, increase repeat visits, and guide visitors toward useful content or services.
For most WordPress websites, the easiest approach is connecting a signup form to an email marketing platform and building a short automated workflow. Start simple, test everything carefully, and improve the sequence over time based on subscriber behavior.

Etienne Basson works with website systems, SEO-driven site architecture, and technical implementation. He writes practical guides on building, structuring, and optimizing websites for long-term growth.