
Drafts pile up in the dashboard. A post gets written but never quite finished. SEO checks happen on some articles and not others. Six months in, nobody quite remembers which posts still need updating. This is what happens to almost every WordPress site that starts publishing without a process — not because anyone is careless, but because there was never a clear path from idea to published page.
I see this on small business sites and growing blogs constantly. The website itself is usually fine — it’s the publishing process behind it that has no shape. An editorial workflow fixes that, and it doesn’t need to be complicated to work. In most of the WordPress sites I build, a simple sequence for planning, writing, reviewing, optimising, and publishing is enough to bring order to the chaos.
This guide walks through building that workflow from scratch, using WordPress’s own post statuses and a handful of habits rather than expensive software. If you’re setting up a new site and haven’t sorted out who can do what yet, it’s worth pairing this with the step-by-step guide to building a WordPress website, since roles and workflow go hand in hand.
Four Statuses, No Extra Software
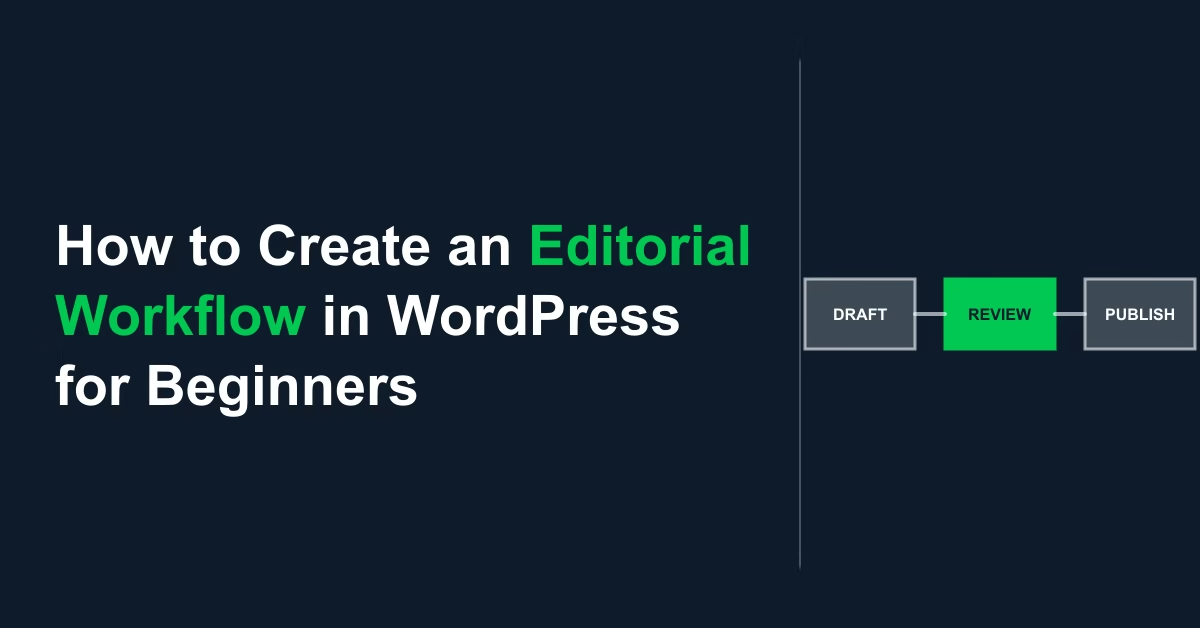
An editorial workflow is a repeatable sequence your content follows from idea to published post: plan the topic, write a draft, review it, run SEO and formatting checks, then publish and schedule updates. In WordPress, you can build most of this using the built-in post statuses (Draft, Pending Review, Scheduled, Published) plus a simple external tracker — no plugin required until you have several contributors to coordinate.
What Happens Without One
Without a workflow, quality becomes inconsistent — some posts get a thorough SEO pass and internal links, others go out as a rushed draft, and readers notice the difference even if they can’t name it. It also makes content harder to maintain: if there’s no record of what’s been published, what’s still in progress, and what needs revisiting, older posts quietly go stale while nobody’s job is to catch it. A workflow solves this by giving every piece of content a known status at every point, so nothing falls through the cracks and nobody has to remember details that a simple system should be tracking for them. It also matters more than most beginners expect once a second person gets involved — a workflow that only exists in one person’s head breaks the moment someone else tries to publish something.
Building the Sequence
1. Plan Topics Before You Write Anything
Every workflow starts with knowing what you’re writing next, not deciding that the morning you sit down to type. Keep a simple running list of topics — a spreadsheet, a Notion board, or even a Google Doc works fine at this stage. For each topic, note the target keyword, a one-line angle, and roughly which category it belongs to. If you want a more structured way to turn keyword research into that list, see how to create a content plan using keyword research — it covers exactly this step in more depth.
2. Write the First Draft as a WordPress Draft
Create the post in WordPress and leave it at Draft status until it’s genuinely finished, rather than publishing early and editing live. Write the full draft in one sitting where possible — headings, body content, and a rough intro — without worrying about polish. Fixing structure and flow is much easier once the whole piece exists than while you’re still writing the first paragraph.
3. Move It to Pending Review
WordPress has a built-in Pending Review status for exactly this stage — use it, even if you’re a one-person team, because it forces a second pass with fresh eyes rather than publishing straight off the first draft. If more than one person works on the site, this is also where you’d assign roles: an Author can submit for review, while an Editor has the permissions to approve and publish. Get this set up properly with WordPress user roles and permissions before you have more than one contributor, not after something gets published by accident.
4. Run a Consistent Pre-Publish Checklist
This is the step most sites skip inconsistently, which is exactly why quality varies post to post. Use the same short checklist every time: title and meta description written, headings structured logically, internal links added, featured image set, and a final read-through for typos. Writing this checklist down once — pinned above your desk or saved in the same tool as your content plan — means it happens the same way whether you’re publishing your first post or your hundredth.
5. Publish on a Schedule, Not Whenever It’s Ready
Use WordPress’s Scheduled status to queue posts for specific dates rather than publishing the moment a draft is approved. This does two things: it smooths out your publishing cadence so you’re not posting five articles one week and none the next, and it gives you a buffer day between “approved” and “live” to catch anything a final skim missed. Building this into a proper content calendar, rather than scheduling posts one at a time, makes the whole process easier to see at a glance — see how to create a content calendar for setting this up.
6. Build In a Review Cycle for Older Posts
A workflow that only covers new content misses half the problem — older posts need the same discipline applied on a schedule, not just when something breaks. Set a recurring reminder, quarterly is usually enough for a small site, to check your oldest or lowest-performing posts for outdated information, broken links, and thin content that could be expanded. This is a separate habit from writing new posts, and it’s the one most beginner workflows forget entirely until traffic on an old page has already dropped.
Practical Tips
- Keep your topic list and your published-post record in the same place — switching between three different tools is where workflows quietly fall apart.
- If you’re working with contributors, set clear expectations and a submission process for each one rather than handling it informally by email — it saves time once you’re past your first couple of guest posts.
- Simple tools genuinely work best at small scale: WordPress’s own statuses, a spreadsheet, or a Trello board are usually enough for one to three contributors.
- Review your checklist itself every few months — as your site grows, what belongs on a pre-publish checklist tends to change too.
Common Mistakes
- Publishing directly from Draft, skipping Pending Review entirely — even a five-minute self-review catches mistakes a first draft always has.
- Treating the workflow as only for new content and never revisiting what’s already published.
- Giving every contributor Administrator access instead of the correct role for what they actually need to do.
- Adopting a heavyweight editorial plugin before it’s actually needed — for a single writer, that’s usually more setup than the problem calls for.
When a Dedicated Plugin Actually Earns Its Keep
A workflow built entirely on WordPress’s own statuses and a spreadsheet is the right starting point for a solo writer or a small team of two or three. Once you’re coordinating several regular contributors, running approval chains, or managing a genuine editorial calendar with deadlines, a dedicated plugin such as PublishPress starts to earn its keep — it adds content calendars, approval systems, and revision tracking directly into the WordPress admin. Checked live, it currently sits at around 6,000 active installs — a genuinely niche tool by WordPress plugin standards, not a household name like Yoast or WooCommerce, so don’t be put off by it feeling less mainstream than other recommendations on this site; it’s simply solving a more specific problem for a smaller audience. Don’t adopt the heavier tool before the simple version has actually started to strain.
Conclusion
Start with WordPress’s built-in Draft, Pending Review, and Scheduled statuses, add a short pre-publish checklist, and set a quarterly reminder to revisit older posts. That’s enough structure to keep content consistent as your site grows, long before you need any extra software.

Etienne Basson works with website systems, SEO-driven site architecture, and technical implementation. He writes practical guides on building, structuring, and optimizing websites for long-term growth.