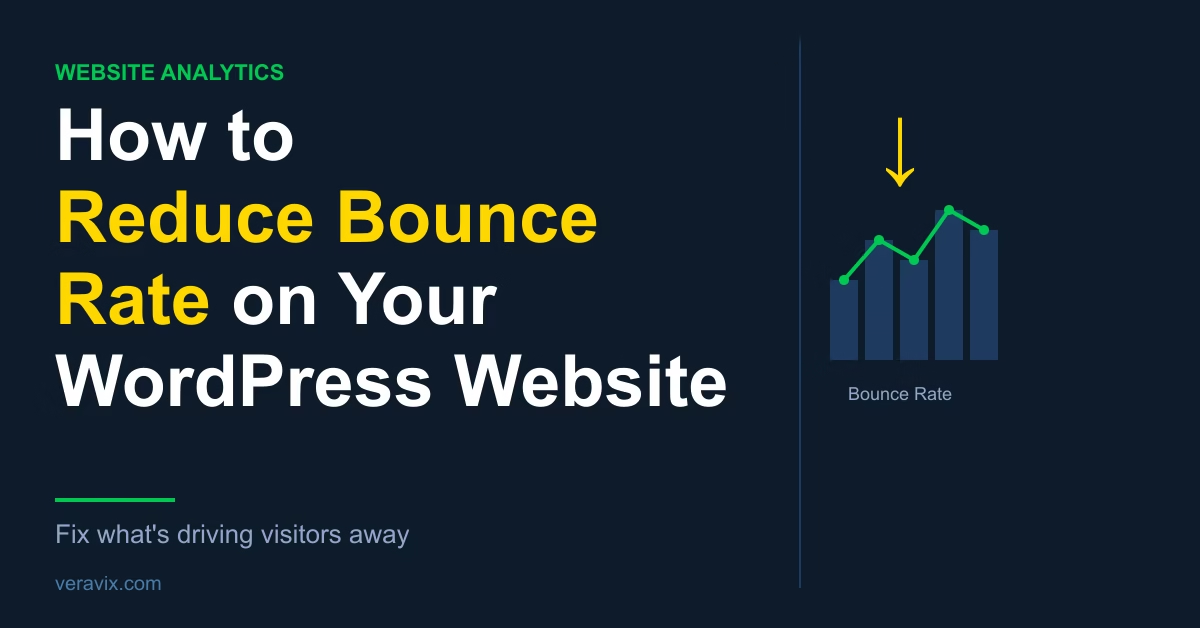
Most visitors who land on a website and immediately leave didn’t arrive by accident — they came, didn’t find what they were looking for, and moved on. That pattern shows up in your bounce rate: the percentage of sessions where someone leaves without doing anything meaningful.
In Google Analytics 4, this metric is framed slightly differently. Rather than tracking who left immediately, GA4 measures your engagement rate — the percentage of sessions where someone spent at least 10 seconds on the page, triggered a key event, or viewed at least two pages. Bounce rate is simply the inverse: sessions that didn’t meet any of those criteria. Understanding that distinction helps you read the data accurately.
A high bounce rate isn’t always a problem. A blog post that answers a question perfectly and leaves the visitor satisfied is doing its job, even if they don’t click through anywhere else. The pages to focus on are your most important ones — landing pages, service pages, product pages, and your homepage — where you need visitors to take some kind of next step.
Quick Answer
The most effective tactics for reducing bounce rate are matching your content to what visitors actually came looking for, making pages load fast, and giving people a clear reason to stay or click through. Most bounce rate problems trace back to one of those three areas.
Why This Matters
When visitors bounce from key pages, the downstream effects are real. Conversions don’t happen, email subscribers don’t sign up, and products don’t get purchased. Over time, consistent patterns of disengagement can affect how your content performs in search — Google’s systems notice when users return quickly from search results to look for a better answer.
Before diving into fixes, it helps to know which pages are actually underperforming. Working through how to read Google Analytics 4 reports for a new WordPress website gives you a clear picture of where to focus rather than guessing at which pages need attention.
How to Reduce Bounce Rate in WordPress
Step 1: Find which pages have the highest bounce rates
Open GA4 and go to Reports > Engagement > Pages and screens. Sort by bounce rate — or look for pages with the lowest engagement rate — and filter to pages with meaningful traffic. A page that gets three visits per month and bounces twice doesn’t need your attention right now. Focus on pages that are consistently getting visitors and consistently losing them.
Google’s documentation on engagement rate and bounce rate in GA4 explains exactly how both metrics are calculated, which is worth reading if you’re unsure whether what you’re seeing reflects a genuine problem.
Step 2: Match your content to search intent
The most common reason people leave immediately is that the page didn’t match what they expected. If someone searches “how to start a WordPress blog” and lands on a page that’s primarily selling a course rather than teaching anything, they’ll leave.
Audit your title, opening paragraph, and first visible screen of content. All three should immediately confirm to the visitor that they’re in the right place. If your H1 promises step-by-step instructions, deliver them without delay. If you’re writing for a specific audience — beginners, freelancers, small business owners — make that clear in the first two sentences.
Step 3: Fix your page load speed
Visitors don’t wait for slow pages. A delay of even a second or two is enough to push most people back to the search results before your content has finished loading. Use Core Web Vitals testing to identify what’s slowing your pages down — oversized images, render-blocking scripts, and a misconfigured cache are the usual culprits on WordPress. The guide to improving Core Web Vitals in WordPress walks through exactly which settings to check and in what order.
Step 4: Improve on-page readability
Walls of unbroken text drive people away before they’ve read anything useful. Break up your content with short paragraphs, subheadings every few sections, and occasional lists where they genuinely help structure the information. Use a font size of at least 16px and keep line lengths comfortable — around 65–80 characters per line.
Bold key terms and instructions visitors need to act on, but only where it adds clarity. Decorative bolding that highlights random phrases trains readers to ignore it.
Step 5: Add clear internal links
A visitor who finishes reading one page should have an obvious next step. Add two or three contextual links within each post’s body copy pointing to closely related content. Avoid generic “read more” links — make the anchor text describe what they’ll find, so the value of clicking is immediately clear.
Running a full website content audit after launch is useful here — it surfaces which pages have weak internal links and where your topic clusters have gaps that leave visitors without a logical next step.
Step 6: Make your calls to action visible
If the goal of a page is email sign-ups, a CTA buried at the very bottom won’t convert many visitors — most won’t scroll that far. Add one meaningful CTA early enough that visitors who only reach the halfway point will still see it. Keep it specific: “Download the checklist” or “Get the free guide” performs better than “Subscribe”.
On service and product pages, make sure the CTA is visible without scrolling on both desktop and mobile. If visitors can’t see a clear next step immediately, they’ll create their own: leaving.
Practical Tips
Getting the fundamentals right from the start prevents many of the structural issues that cause high bounce rates on newer sites. The step-by-step guide to building a WordPress website on Veravix covers the core setup decisions — hosting, speed, navigation, and content — that determine whether visitors stick around or leave immediately.
When making changes to multiple pages, note the dates in GA4 so you can compare before-and-after performance clearly. Improvements to bounce rate often take two to four weeks to show up in the data, depending on your traffic volume.
Exit-intent popups and intrusive overlays can spike bounce rates on pages where they appear the moment a visitor arrives. If you’re running them, test disabling them on your highest-bounce pages and measure the difference.
Common Mistakes
Treating every page the same. Informational blog posts and conversion-focused landing pages naturally have different engagement patterns. Setting a single benchmark across all page types leads to fixing things that aren’t broken while missing real problems.
Focusing on bounce rate in isolation. A page with a 70% bounce rate but a high conversion rate on the other 30% is performing well. Always look at bounce rate alongside time on page, conversion data, and scroll depth before deciding something needs to change.
Making too many changes at once. If you fix page speed, rewrite your headline, and add three new CTAs at the same time, you won’t know which change actually moved the needle. Work through one fix at a time and give each change a few weeks to register in your analytics.
When to Use This vs. Alternatives
If your bounce rate is high across the entire site rather than a few specific pages, the problem is more likely structural — poor traffic targeting, slow hosting, or a confusing navigation — rather than individual page issues. In that case, start with hosting and site speed before optimising page-level content.
If specific landing pages are underperforming, heatmap tools like Microsoft Clarity or Hotjar show exactly where visitors drop off and where they click — which makes diagnosing the cause much faster than working from analytics reports alone.
Conclusion
Start with your highest-traffic pages that have the worst engagement rates, fix the most obvious issues — slow load times, mismatched content, missing CTAs — and measure the results before moving on. Bounce rate rarely improves from a single change, but it responds consistently to getting the fundamentals right.

Etienne Basson works with website systems, SEO-driven site architecture, and technical implementation. He writes practical guides on building, structuring, and optimizing websites for long-term growth.