
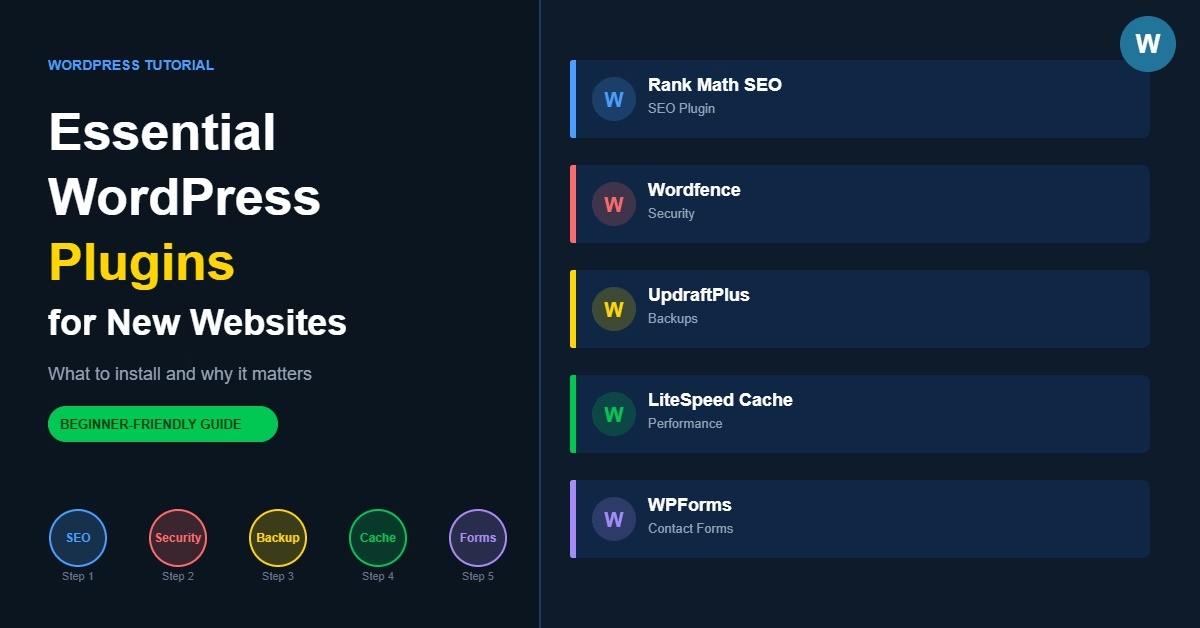
When you first install WordPress, the plugin library can feel overwhelming. There are over 60,000 options in the directory, each promising to fix something — speed, security, SEO, forms, backups. New site owners often respond by installing everything that looks useful, and end up with twenty or thirty plugins active before a single page is properly published.
That approach creates real problems. More plugins mean more potential conflicts, more surface area for security issues, and a slower site. In most WordPress sites I set up, the goal is to start lean — a small stack covering only the core technical needs, nothing more.
The good news is that most new WordPress sites genuinely only need five types of plugins at the start. Getting those right from the beginning makes everything else easier.
Quick Answer
A new WordPress site needs plugins covering five areas: SEO control, security, backups, caching and performance, and contact forms. Everything else can wait until there is a specific reason to add it. Start with one plugin per category and keep the total list short.
Why This Matters
WordPress is a powerful platform, but it ships without several features that most websites need to function properly. Without the right plugins in place early, you are likely to have pages with no meta descriptions, no automatic backups running, poor load times, and no way for visitors to contact you without publishing your email address.
Getting these five categories covered before you start publishing content means every page is set up correctly from day one. It also means that when something goes wrong — and eventually something always does — you have the tools to recover cleanly.
Step 1: Install an SEO Plugin
WordPress gives you a way to publish content, but it does not give you direct control over page titles, meta descriptions, XML sitemaps, or schema markup. Without an SEO plugin, you are essentially handing that control to WordPress defaults, which are not built with search visibility in mind.
A good SEO plugin lets you manage:
- Custom page titles and meta descriptions for every post and page
- XML sitemaps submitted to Google and Bing
- Basic schema settings
- Indexing controls for pages you want excluded from search results
Rank Math and Yoast SEO are the two most widely used options, both available free through the WordPress Plugin Directory. Either one works well for a new site. The important thing is to install one before you start publishing, so every page has proper metadata from the beginning rather than having to go back and fix things later.
Step 2: Add a Security Plugin
WordPress powers a large proportion of the web, which makes it a regular target for automated attacks. Most of these are not targeted at your site specifically — they are bots scanning for common vulnerabilities, weak admin passwords, or outdated plugin versions.
A security plugin adds a protection layer covering:
- Login protection and brute force blocking
- Malware scanning
- Firewall rules
- File change monitoring
Wordfence, Sucuri Security, and Solid Security (previously iThemes Security) are all reliable choices. For a small site, enabling the core protection features and keeping everything updated handles the majority of common threats. If you want to go further, there are additional steps worth taking — see the guide on how to secure a WordPress website for a more complete approach.
Step 3: Set Up a Backup Plugin
Backups are non-negotiable. A plugin update, a theme change, or a corrupted database can all leave a site broken, and restoring from a recent backup is by far the fastest way to recover. Without one, you are starting from scratch.
A backup plugin should handle:
- Scheduled automatic backups
- Off-site storage, such as Google Drive or Dropbox
- Full site restoration without needing developer access
UpdraftPlus is one of the most widely used options and covers the basics well on its free tier. BlogVault and BackupBuddy are strong paid alternatives if you need more granular scheduling and restore control. Once your backup plugin is running, check that backups are actually completing and that the files are landing in your chosen off-site location.
Step 4: Install a Caching Plugin
Page speed affects both user experience and search rankings. A caching plugin stores pre-generated versions of your pages so the server does not have to rebuild them from scratch on every visit. For most new sites, this alone produces a noticeable improvement in load times.
Look for a caching plugin that provides:
- Page caching
- Browser caching
- File optimisation — minifying CSS and JavaScript
- Database cleanup tools
WP Rocket is a strong premium option with straightforward configuration. LiteSpeed Cache is free and highly capable if your host uses LiteSpeed servers. W3 Total Cache is a longstanding free alternative. One important rule: do not run more than one caching plugin at a time. Running two simultaneously is one of the more common causes of broken layouts and degraded performance on new sites.
Step 5: Add a Contact Form Plugin
WordPress does not include a built-in form system. Without a contact form plugin, your only option is to publish your email address publicly, which quickly attracts spam.
For a new site, you need a plugin that handles:
- Simple form creation
- Email delivery of submissions
- Basic spam filtering
WPForms has a well-regarded free version that covers standard contact forms cleanly. Contact Form 7 is a lightweight alternative that has been around for years. Gravity Forms is the more powerful paid option if you need conditional logic, file uploads, or integrations with payment systems or CRM tools.
Practical Tips
Install one plugin at a time. Add a plugin, check that everything still works as expected, then move on to the next. This makes it straightforward to identify what caused a problem if something breaks during setup.
Avoid category overlap. Two SEO plugins or two caching plugins running simultaneously will cause conflicts. Before installing anything, check whether you already have a plugin that covers similar ground.
Choose actively maintained plugins. Before installing, check the last updated date and the number of active installs on the plugin directory page. A plugin that has not been updated in two years carries a meaningful security risk.
Keep the list short. A site with fewer than ten plugins is generally faster and easier to manage than one with thirty. Only add a plugin when there is a clear reason to.
Common Mistakes
Installing too many plugins at once. Experimenting with multiple plugins before the site is stable makes it much harder to diagnose problems when they appear, and increases the chance of conflicts.
Choosing plugins by download count alone. A plugin with millions of installs may still be the wrong fit. Focus on whether it solves an actual problem you have right now.
Ignoring plugin updates. Outdated plugins are among the most common causes of security vulnerabilities in WordPress. Set aside time each week to review and apply updates.
Running overlapping performance tools. Two caching plugins, or a caching plugin combined with aggressive optimisation settings from another tool, frequently break page layouts or produce slower results than a single well-configured plugin would.
When a Different Approach Makes Sense
If you are building on a hosted platform like Wix or Squarespace, many of these features — backups, basic security, performance — are handled by the platform automatically. There is no plugin management involved.
WordPress gives you more control, but that comes with the responsibility of managing these tools yourself. For most business websites, blogs, and content-driven sites, that trade-off is worth it.
Once you know which plugins to install, the guide to installing WordPress plugins safely walks through the full process — including how to check compatibility before installing and how to remove plugins properly without leaving database clutter behind.
Akismet — listed in Step 2 above — works best when your WordPress comment settings are also properly configured. Here is a full guide on how to set up WordPress comments and prevent spam so both work together effectively.
If you want to go beyond the basics, consider adding live chat to your WordPress website — it’s one of the more effective ways to catch visitors at the moment they’re ready to take action.
If you plan to sell products or services from your site, setting up a WooCommerce store is straightforward once WordPress is running — the plugin handles products, payments, and checkout without requiring any coding.
Conclusion
Install plugins for SEO, security, backups, caching, and contact forms. Those five categories cover the core technical needs of most new WordPress sites. Once they are in place and working, only add more plugins when a specific need arises.

Etienne Basson works with website systems, SEO-driven site architecture, and technical implementation. He writes practical guides on building, structuring, and optimizing websites for long-term growth.