
WordPress plugins are what turn a basic site into something functional. Contact forms, SEO settings, caching, security — almost everything beyond the core theme comes from a plugin. Most people have no problem clicking install. The problems start when they do it without thinking.
I’ve seen sites slow down after an update, break after a deletion, or accumulate twenty inactive plugins nobody noticed were still running. None of that is inevitable. Installing and removing plugins correctly takes an extra two minutes each time and prevents most of the issues that come up later.
Quick Answer
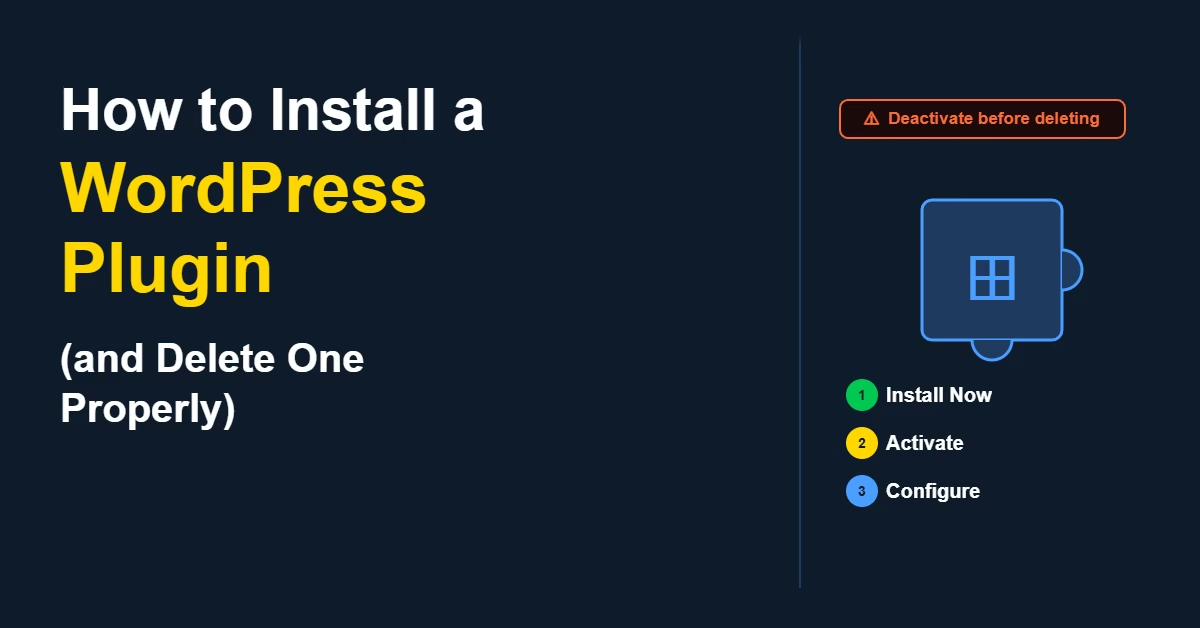
Go to Plugins > Add New Plugin, search for the plugin, click Install Now, then Activate. After activating, go directly to the plugin’s settings and configure it. To remove a plugin, deactivate it first, then delete it. Never skip the deactivation step.
Why This Matters
Plugins touch every part of your site — performance, SEO, security, and functionality. A plugin installed carelessly can conflict with another plugin, slow down page loads, or introduce a vulnerability. A plugin deleted without deactivating first can occasionally cause errors depending on how it’s built.
Most WordPress sites accumulate plugins over time. Some get installed to test something and never removed. Knowing how to clean these up is just as important as knowing how to add them. The WordPress Plugin Directory hosts over 60,000 free plugins — quality varies significantly, so checking a plugin before installing matters.
How to Install a WordPress Plugin from the Directory
Step 1: Go to Plugins > Add New Plugin
From your WordPress dashboard, navigate to Plugins > Add New Plugin. This opens the plugin browser connected to the official directory.
Step 2: Search and Check Before Installing
Use the search field to find what you need — by name if you know the plugin, or by function (“contact form”, “image compression”) if you’re exploring options. Before clicking install, check three things on the listing:
- Last updated — a plugin untouched for over two years may not be maintained
- Tested up to — confirms compatibility with your current WordPress version
- Active installations — more installs generally means more community testing and faster bug fixes
Step 3: Install Now, Then Activate
Click Install Now. WordPress downloads the plugin files to your /wp-content/plugins/ directory. The plugin is not active yet. Click Activate once the install completes — this is when the plugin starts running on your site.
Step 4: Configure the Plugin Settings Immediately
Activating a plugin without configuring it is one of the most common mistakes on new sites. Most plugins work at a basic level out of the box, but the useful behaviour usually requires a few settings to be correct. Find the plugin’s settings page immediately after activation and go through the options.
Step 5: Test Your Site
After activating any new plugin, load a few pages and check they render correctly — the homepage, a post, and any checkout or form pages if relevant. Plugin conflicts can show up immediately or only on certain page types. If you’re making changes to a live site, a WordPress staging site lets you test plugins before they affect real visitors.
How to Install a Plugin Manually
Some plugins — usually premium or custom-built ones — aren’t listed in the directory. These are distributed as .zip files and installed manually.
Go to Plugins > Add New Plugin, click Upload Plugin at the top, choose the .zip file from your computer, and click Install Now. Once uploaded, click Activate. Manual installs work identically to directory installs once activated — the only difference is that WordPress won’t notify you of updates automatically.
How to Delete a WordPress Plugin Properly
Step 1: Deactivate First
Go to Plugins > Installed Plugins, find the plugin you want to remove, and click Deactivate. This stops the plugin from running without removing anything yet. Deactivating first gives you a checkpoint — if something breaks, you know that plugin was handling something important.
Step 2: Delete
After deactivating, the Delete link appears below the plugin name. Click it. WordPress removes the plugin files from your server. If you’re removing a plugin that handled something critical — redirects, forms, SEO meta — verify the functionality is properly replaced before deleting.
Step 3: Check for Leftover Data
Some plugins store data in the WordPress database even after deletion — options, custom tables, or post meta. Most well-built plugins clean up after themselves, but not all do. If you notice stray entries in your settings after deletion, a database cleanup may be needed.
Practical Tips
Keep your plugin count low. Every active plugin adds overhead. Most sites don’t need more than ten to fifteen well-chosen plugins to cover everything they need. The guide to essential WordPress plugins for new websites covers the core set worth installing.
Update plugins regularly. Outdated plugins are one of the most common entry points for WordPress security issues. Run updates at least weekly. For a safe update process that covers plugins, themes, and core, updating WordPress safely covers the right order and what to check.
Install and test one plugin at a time. If you install several at once and something breaks, you won’t know which one caused it. One at a time makes troubleshooting straightforward.
Remove anything you’re not using. An inactive plugin is less of a risk than an active one, but it still takes up space and can still contain vulnerabilities if the code is outdated. Delete anything you installed to test and decided against.
Common Mistakes
Skipping the compatibility check. If a plugin hasn’t been tested with your current WordPress version, treat that as a risk — especially on live sites with forms or ecommerce.
Deleting without deactivating. This can occasionally cause PHP errors or white screens depending on how the plugin is built. Always deactivate first.
Not configuring after activating. A plugin that’s active but not configured may not be doing anything useful, or worse, may be doing something unintended with its default settings.
Ignoring update notifications. The Plugins screen shows when updates are available. Leaving plugins on old versions for weeks or months is one of the most avoidable security risks on a WordPress site.
Free vs Premium Plugins
Free plugins from the directory are suitable for most use cases. Use a premium plugin when you need dedicated support, more advanced features, or integrations that the free version doesn’t cover. Premium plugins aren’t inherently safer or better — it depends entirely on the developer. Check reviews, update history, and support responsiveness before buying.
Before installing a new plugin, it helps to know how to troubleshoot WordPress plugin conflicts — so you can quickly isolate the cause if something breaks after activation.
Conclusion
Check compatibility before installing, configure settings immediately after activating, and test your site. When removing plugins, deactivate before deleting. Applied consistently, that two-minute process prevents most of the common WordPress plugin problems that slow sites down or create security gaps. Plugin management is one of the foundational maintenance habits covered in the step-by-step guide to building a WordPress website.

Etienne Basson works with website systems, SEO-driven site architecture, and technical implementation. He writes practical guides on building, structuring, and optimizing websites for long-term growth.