Getting WordPress installed is the moment your hosting account stops being an empty server and becomes a working website. It sounds technical, but most hosting providers make it a straightforward process — and even the manual method follows a consistent set of steps once you have done it once.
There are two ways to do this: the 1-click installer through your hosting control panel, and the manual installation method. The 1-click route is faster and handles the database setup automatically. The manual method takes longer but gives you more control and is useful to understand when migrating sites or working with hosts that do not offer an installer.
In most WordPress sites I build, the 1-click installer is the right choice. This guide covers both methods so you can use whichever fits your situation.
Quick Answer
Log into your hosting control panel, find the WordPress installer (usually under a section called WordPress, Softaculous, or Auto Installers), enter your site details, and click install. WordPress will be ready in under two minutes. For manual installation, download WordPress from wordpress.org, upload the files via FTP, create a database, and run the setup wizard.
Before You Start
Make sure you have a domain name and a hosting account set up before beginning. Your domain should be pointed to your hosting nameservers and the DNS should have propagated — this usually takes a few minutes to a few hours, depending on your registrar.
You will also need your hosting control panel login details. These are typically sent by email when you sign up with your host.
Step-by-Step: Install WordPress Using the 1-Click Installer
The 1-click method is available on most shared hosting providers — cPanel-based hosts typically use Softaculous, while hosts like SiteGround use their own installers. The steps are similar across all of them.
Step 1: Log into your hosting control panel
Access cPanel, Plesk, or your host’s custom dashboard. The login URL is usually something like yourdomain.com/cpanel or available directly from your hosting account page.
Step 2: Find the WordPress installer
Look for a section labelled WordPress, Softaculous Apps Installer, or Auto Installers. On some hosts it appears under a Website or CMS section. Click through to the WordPress installer.
Step 3: Choose your installation domain
Select the domain you want WordPress installed on from the dropdown. Leave the directory field empty if you want WordPress at the root of the domain — for example, yourdomain.com. If you enter a folder name such as blog, WordPress installs at yourdomain.com/blog/. Most sites want the root.
Step 4: Configure your site details
Enter your site name, an admin username (do not use “admin” — pick something less obvious), a strong password, and your admin email address. These can all be changed later from within WordPress, but setting them correctly now avoids an extra step.
The language, database name, and table prefix fields can usually be left at their defaults unless your host requires otherwise.
Step 5: Run the installation
Click Install. The installer creates the database, copies WordPress files, and runs the initial configuration. This usually takes 30–60 seconds.
Step 6: Access your new WordPress site
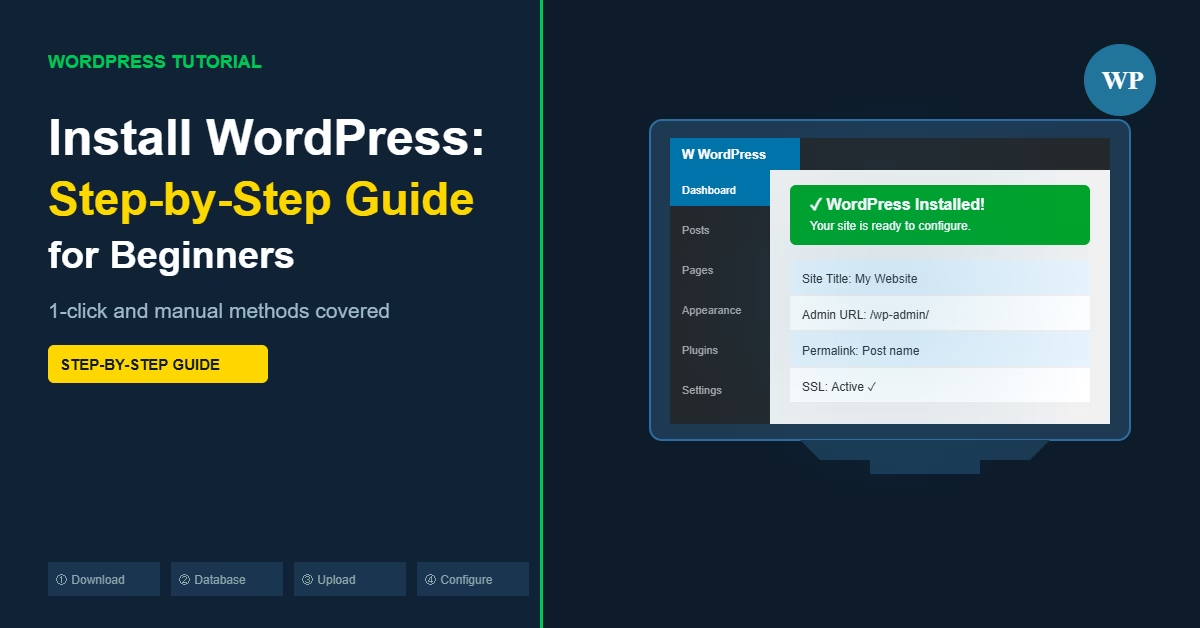
Once complete, the installer shows a success message with a link to your site and a link to the admin area at yourdomain.com/wp-admin/. Log in with the username and password you set and you will land on the WordPress dashboard.
Step-by-Step: Install WordPress Manually
Manual installation is worth knowing, especially when migrating an existing site or working with a host that does not provide an automated installer.
Step 1: Download WordPress
Go to wordpress.org/download and download the latest version as a ZIP file. Extract it on your computer — you will get a folder called wordpress.
Step 2: Create a database
Log into your hosting control panel and navigate to MySQL Databases or Database Wizard. Create a new database, a new database user, and assign the user to the database with All Privileges. Note the database name, username, and password — you need them in a later step.
Step 3: Upload the WordPress files
Use an FTP client such as FileZilla or your host’s File Manager. Connect to your server and navigate to the public_html directory (or the folder corresponding to your domain). Upload the contents of the wordpress folder — not the folder itself — directly into public_html.
Step 4: Run the WordPress setup wizard
Visit your domain in a browser. WordPress detects there is no configuration file and starts the setup wizard. Select your language, then click Let’s go on the database information screen.
Enter the database name, username, password, and host (usually localhost). Click Submit. If the connection is successful, click Run the installation.
Step 5: Enter site information and complete setup
Enter your site title, choose an admin username (again, avoid “admin”), set a password, and add your email address. Click Install WordPress. You will land on a success screen with a login button.
What to Do Immediately After Installation
Once WordPress is installed, a few settings are worth configuring straight away.
Go to Settings → Permalinks and change the structure from Plain to Post name. This gives you clean URLs like yourdomain.com/post-title/ rather than ?p=123. Click Save Changes to apply it.
Delete the default sample content — the Hello World post, the sample page, and the Akismet and Hello Dolly plugins if they are there. They serve no purpose on a real site.
Set your timezone under Settings → General so post timestamps reflect your actual location.
From there, the next step is configuring the remaining WordPress settings before adding content or installing plugins.
Common Mistakes
Installing WordPress in a subdirectory by accident. If you enter a directory name in the installer, WordPress installs at yourdomain.com/foldername/ rather than the root. Check the directory field is empty if you want the root install.
Using “admin” as the username. This is the first username brute-force tools try. Use anything else.
Uploading the WordPress folder instead of its contents. In manual installs, uploading the wordpress folder rather than the files inside it puts your site at yourdomain.com/wordpress/. Upload the files inside the folder to public_html directly.
Not noting your database credentials. During manual setup, if you skip writing down the database name, user, and password before running the wizard, you will need to look them up again in cPanel. Write them down or keep them in a password manager.
1-Click vs Manual: When to Use Which
For a fresh installation on a new hosting account, the 1-click installer is faster and less error-prone. It handles the database automatically and is supported by the majority of hosting providers.
Use manual installation when you are migrating an existing WordPress site, setting up a staging environment where the automatic installer is not available, or working on a server where you need precise control over database settings.
Installing WordPress is one step in a longer build sequence. If you’re working through the full process, the step-by-step guide to building a WordPress website covers every stage — from planning and hosting through to launch and what comes after — with each step linking to a dedicated article like this one.
Before your site goes live, set up a coming soon page in WordPress so visitors see a clean holding screen rather than a half-built site while you finish the installation process.
Conclusion
For most new websites, the 1-click installer gets WordPress running in under two minutes. Set a strong admin username, configure your permalinks, and you are ready to start building. Once WordPress is installed, work through the WordPress settings screens that need configuring right after installation — particularly permalinks and reading settings — before publishing anything.

Etienne Basson works with website systems, SEO-driven site architecture, and technical implementation. He writes practical guides on building, structuring, and optimizing websites for long-term growth.