At some point, most websites move beyond simple contact forms in WordPress. A visitor doesn’t just want to ask a question — they want to book something immediately. That might be a consultation, a service, a call, or an appointment.
Without a booking system, that process becomes slow. Emails go back and forth, availability gets confused, and in many cases, the visitor leaves before anything is confirmed.
On WordPress sites I’ve worked on, adding a booking system is usually one of the simplest ways to improve conversions. It removes friction and gives people a clear next step.
Quick Answer / Summary
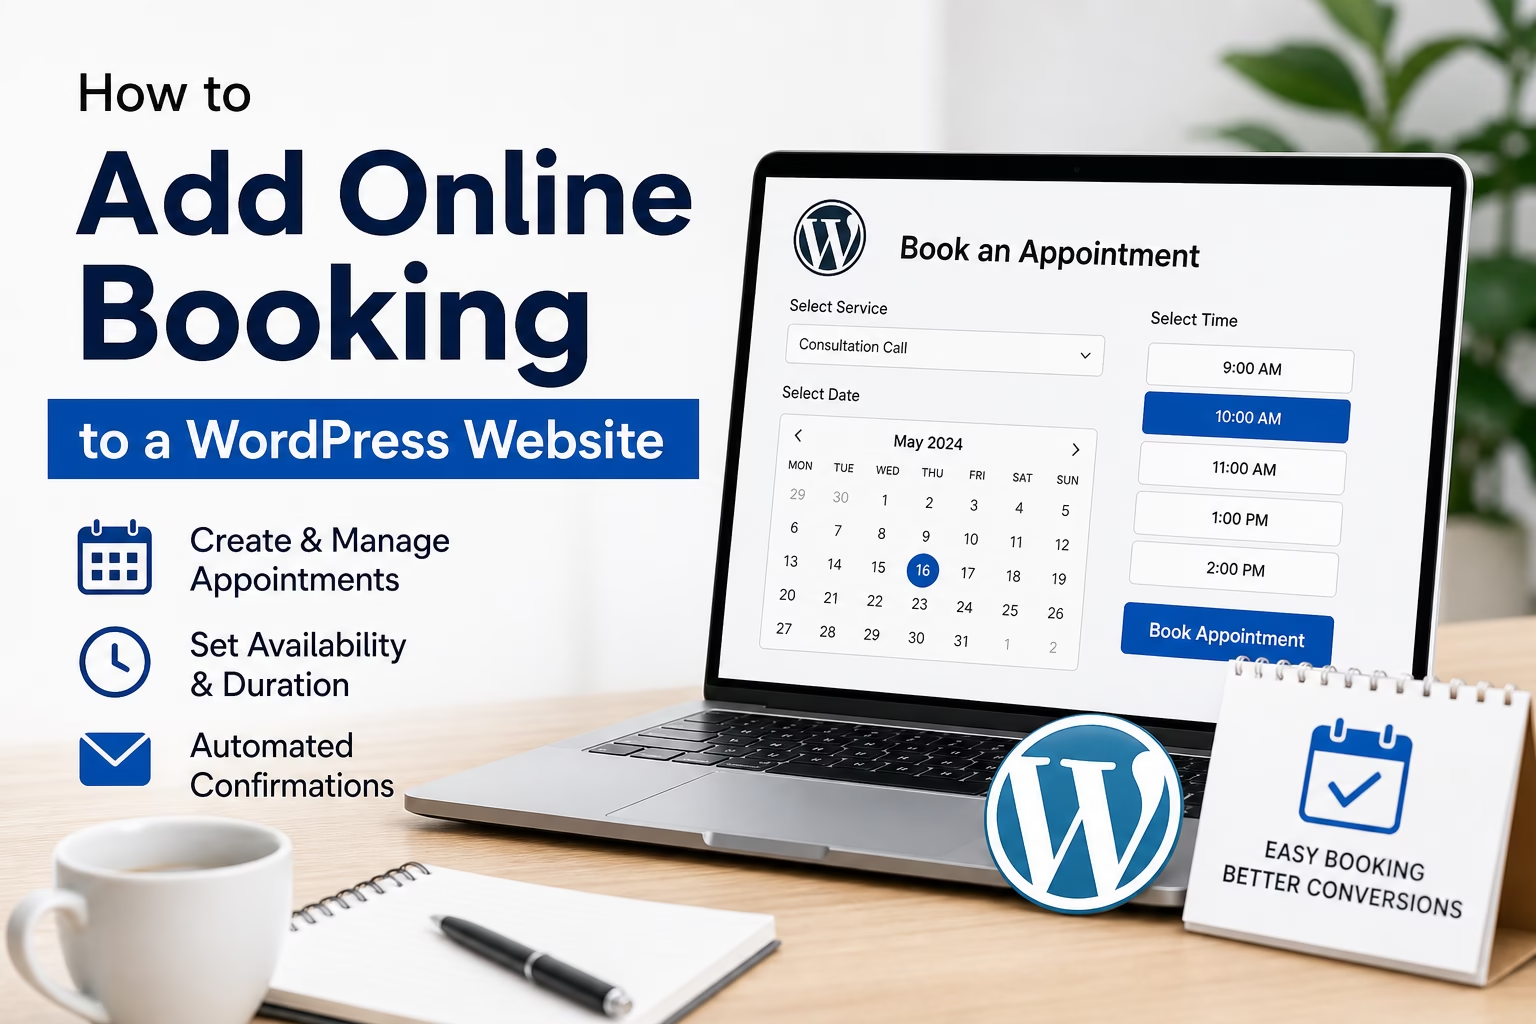
To add online booking to a WordPress website, you typically install a booking plugin, configure your availability and services, and embed the booking form on a page. Most sites use either a WordPress plugin (like Amelia or Simply Schedule Appointments) or an external tool (like Calendly) that can be embedded.
Why This Matters
A booking system turns your website from an information page into an action tool.
Instead of relying on visitors to contact you and wait for a response, you let them choose a time and confirm instantly. This is especially useful for:
- Service-based businesses
- Freelancers and consultants
- Local businesses
- Agencies
- Coaches or trainers
In my experience, once booking is set up properly, it often replaces a large percentage of contact form inquiries because it’s faster and clearer for users.
Step-by-Step Instructions
1. Choose How You Want to Handle Bookings
You have two main options:
Option 1: WordPress Booking Plugin
Everything runs inside your website.
Common choices:
- Amelia
- Simply Schedule Appointments
- Bookly
Option 2: External Booking Tool
You use a third-party tool and embed it.
Common choices:
- Calendly
- TidyCal
If you want full control and integration with your site, use a plugin. If you want something quick and simple, external tools are easier to set up.
2. Install a Booking Plugin (Plugin Method)
If you choose a plugin:
- Go to Plugins → Add New
- Search for your chosen plugin (e.g., “Amelia”)
- Click Install → Activate
Once activated, most booking plugins will add a new menu in your dashboard.
3. Configure Your Services
This is where many setups go wrong. You need to clearly define what can be booked.
Typical setup includes:
- Service name (e.g., “Consultation Call”)
- Duration (e.g., 30 minutes)
- Price (if applicable)
- Description
In most sites I build, I keep services simple at the start. One or two clear options usually work better than a long list.
4. Set Your Availability
Next, define when bookings are allowed.
This usually includes:
- Working days (e.g., Monday–Friday)
- Available hours (e.g., 9:00–17:00)
- Breaks or blocked times
This step matters because it prevents scheduling conflicts. Make sure your timezone is set correctly in WordPress before doing this.
5. Connect Notifications (Email or SMS)
Most booking tools allow automatic notifications.
You should configure:
- Confirmation emails
- Reminder emails
- Admin notifications
I usually recommend enabling reminders. They reduce no-shows without requiring manual follow-up.
6. Add the Booking Form to a Page
Create or edit a page where visitors will book.
For example:
- A “Book a Call” page
- A service page
- A landing page
Then:
- Insert the plugin’s shortcode or block
- Or embed your external booking tool
Place the booking section clearly on the page. Don’t hide it at the bottom.
7. Test the Booking Process
Before publishing, test everything:
- Can you select a time?
- Do confirmation emails arrive?
- Does it block already booked slots?
This step is critical. Small errors here can break the entire system.
Practical Tips or Observations
In most WordPress setups, simpler booking flows perform better.
A few things I usually recommend:
- Limit choices early on
Too many service options can confuse users - Place booking near your call to action
For example, right after explaining your service - Use clear labels
“Book a Call” works better than vague text - Match booking with your service page
If someone reads about a service, they should be able to book immediately - Keep mobile usability in mind
A large percentage of bookings happen on mobile
Common Mistakes
Here are issues I frequently see when reviewing sites:
1. Overcomplicated setup
Too many services, unclear options, or unnecessary steps
2. Hidden booking forms
If users have to search for the booking option, they often leave
3. No confirmation emails
Users don’t know if their booking worked
4. Incorrect timezone settings
This causes scheduling errors and confusion
5. No testing before launch
Even small configuration mistakes can break bookings
When to Use This vs Alternatives
A booking system works best when appointments are part of your process.
Use booking if:
- You offer consultations or calls
- You run a service-based business
- You need scheduled interactions
Use a contact form instead if:
- You only need general inquiries
- You don’t work on fixed schedules
- Your service requires custom quotes first
In some cases, combining both works well. For example, a booking option for calls and a contact form for general questions.
Conclusion
Adding online booking to a WordPress website is one of the most practical upgrades you can make. It simplifies the process for visitors and removes unnecessary back-and-forth communication.
Start with a simple setup, make sure it works reliably, and place it where users can easily find it. Once it’s in place, your site becomes much more effective at turning visitors into actual appointments.

Etienne Basson works with website systems, SEO-driven site architecture, and technical implementation. He writes practical guides on building, structuring, and optimizing websites for long-term growth.