Security is one of those things that feels optional until something goes wrong. Most people launching a WordPress site are focused on design, content, and getting pages live — which is fine. But once a site is on a public domain, it starts receiving automated traffic from bots scanning for exploitable weaknesses.
These bots aren’t targeting you specifically. They run continuously across millions of sites, looking for outdated plugins, default usernames, exposed login pages, and missing HTTPS. Basic security steps block the majority of these attacks before they have any chance of succeeding.
In most WordPress sites I build, I run through a short security checklist shortly after installation. It doesn’t take long, and the steps below cover the areas that matter most for a new or growing site.
Quick Answer
To secure a WordPress website, keep WordPress, themes, and plugins updated, use a strong unique password and a non-default admin username, install a security plugin, enable SSL, limit login attempts, and set up regular backups. These steps cover the most common attack vectors for beginner and intermediate WordPress sites.
Why WordPress Sites Get Targeted
WordPress runs a large portion of the web, which makes it a consistent target. Attackers exploit volume rather than choosing targets individually — they run automated scans looking for sites running outdated plugin versions, predictable login paths, or common admin usernames.
A hacked site can result in malware being injected into your pages, your site being used to send spam, your content being altered, or your site being taken offline. Recovery takes significantly longer than prevention. The steps below address the most frequently exploited weaknesses.
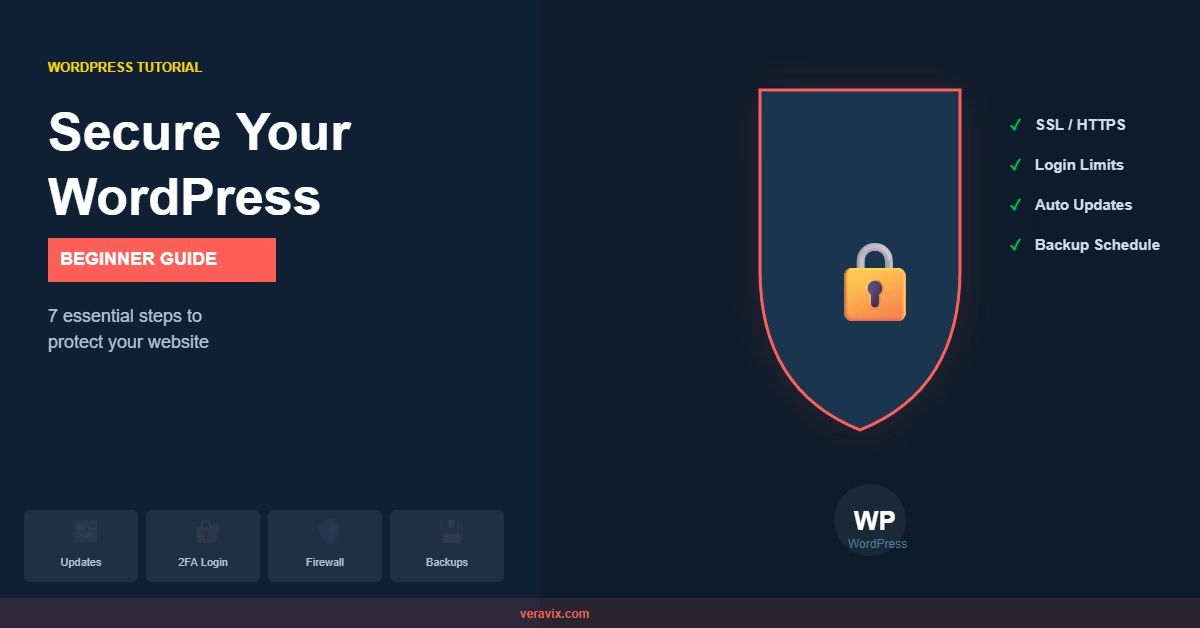
How to Secure a WordPress Website
Step 1: Keep Everything Updated
WordPress core, themes, and plugins all release security patches as vulnerabilities are discovered. If you’re running outdated versions, those vulnerabilities are public knowledge — bots scan for them actively.
Go to Dashboard → Updates and apply any pending updates. For most sites, enabling automatic updates for minor WordPress core releases is sensible. For plugins, you can review updates manually or set them to auto-update via Plugins → Installed Plugins, where there’s an auto-update toggle per plugin.
Remove plugins and themes you aren’t using. Inactive plugins can still be exploited if they contain vulnerabilities, and they clutter your updates list.
Step 2: Use a Strong Password and a Non-Default Username
Brute force attacks cycle through common usernames like admin, administrator, and user combined with common passwords. If your admin account uses any of these usernames, change it.
To change your username, the easiest method is to create a new administrator account with a different username, log in as that new account, and delete the original. Go to Users → Add New, set the role to Administrator, then log in with the new account and remove the old one.
For the password, use a randomly generated string of at least 16 characters. WordPress will suggest a strong password when you edit your user profile — accept it and save it in a password manager.
Step 3: Enable Two-Factor Authentication
Even a strong password can be compromised if it appears in a data breach. Two-factor authentication adds a second verification step — typically a time-based code from an app on your phone — so that stolen credentials alone aren’t enough to gain access.
For a step-by-step setup, see the guide on how to add two-factor authentication to WordPress. It covers plugin options and configuration for both administrator and contributor accounts.
Step 4: Limit Login Attempts
By default, WordPress allows unlimited login attempts. This makes brute force attacks straightforward — a bot can try thousands of username and password combinations without being blocked.
Install a plugin that limits failed login attempts. Limit Login Attempts Reloaded (free) is a common choice. After a set number of failed attempts, the IP is locked out for a configurable period. Go to Settings → Limit Login Attempts to configure thresholds — the defaults are reasonable for most sites.
Step 5: Install a Security Plugin
A dedicated security plugin adds firewall rules, malware scanning, and activity logging. Wordfence Security (free tier available) and Sucuri Security (free tier available) are both widely used.
Wordfence includes a web application firewall that blocks malicious requests before they reach WordPress, and a scanner that checks your files against known clean versions of WordPress core. The free version covers the essentials for most small to medium sites.
After installing, run an initial scan and review any warnings. Common findings include plugin versions with known vulnerabilities or files that have been modified unexpectedly.
Step 6: Enable SSL and Force HTTPS
SSL encrypts data sent between your server and visitors. Most hosting providers now include free SSL certificates via Let’s Encrypt, and many activate it by default. If your site is still on HTTP, enable SSL through your hosting control panel.
Once SSL is active, go to Settings → General in WordPress and update both the WordPress Address and Site Address to use https://. Then add a redirect rule in your .htaccess file (or via your hosting panel) to redirect all HTTP traffic to HTTPS automatically.
Step 7: Set Up Regular Backups
Backups are not a preventive measure — they’re a recovery measure. If your site is compromised or something breaks, having a recent backup is what allows you to restore quickly rather than rebuilding from scratch.
Use a plugin like UpdraftPlus to schedule automatic backups and send them to an external location — Google Drive, Dropbox, or Amazon S3. Store backups off-server so a compromise of your hosting account doesn’t affect your backup copies.
Practical Tips
I usually set WordPress core to auto-update minor versions, manually review plugin updates weekly, and keep automatic backups running daily. That combination handles most risk with minimal ongoing effort.
Check your hosting panel for any built-in security tools — many managed hosts include malware scanning, firewalls, and automatic plugin update management at the server level, which can complement or replace plugin-level security.
If you’re on shared hosting and someone else on the same server gets hacked, there’s a risk of cross-contamination. Moving to a managed WordPress host or a VPS with isolation reduces this. It’s not urgent for a new site, but worth factoring in as you grow.
The WordPress hardening documentation covers advanced topics like file permissions, database user privileges, and disabling the file editor — useful reading once the basics above are in place.
Common Mistakes
Using “admin” as the username. It’s the first username every brute force tool tries. Change it before your site receives any real traffic.
Leaving unused plugins installed. Even deactivated plugins can be scanned for vulnerabilities. Delete anything you’re not actively using.
Assuming the hosting provider handles everything. Hosts secure the server infrastructure. The WordPress application layer — plugins, themes, user accounts — is your responsibility.
Skipping backups until something breaks. A backup that doesn’t exist yet can’t help you. Set up automated backups before you need them.
When to Use a Security Plugin vs Managed Hosting
On shared hosting, a security plugin like Wordfence covers most situations at no extra cost. On managed WordPress hosting (Kinsta, WP Engine, Cloudways), the host often handles malware scanning, firewall rules, and automatic updates at the infrastructure level — in that case, a lightweight security plugin or just the built-in tools is usually sufficient.
If you’re running a site with user accounts, e-commerce, or sensitive form data, consider adding a Web Application Firewall (WAF) through a service like Cloudflare. The free tier provides basic DDoS protection and bot filtering that sits in front of your hosting entirely.
One more attack surface worth closing is XML-RPC — a legacy remote access endpoint that stays active in WordPress by default. Most sites don’t need it, but bots scan for it constantly and use it to run brute-force attacks that can bypass standard login limiting. Disabling XML-RPC takes a few minutes and is worth adding to your initial hardening checklist.
Conclusion
Running through these steps after installation takes less than an hour and covers the majority of common WordPress attack vectors. The first step on that list is getting HTTPS active — see the guide on how to set up SSL and HTTPS in WordPress if you haven’t done that yet. Keep software updated, use strong credentials, enable 2FA, and make sure backups are running. Once those foundations are in place, consider adding HTTP security headers to close a further set of browser-level vulnerabilities that most WordPress sites leave open by default. Once your initial hardening is done, run a periodic WordPress security audit to catch the gaps that accumulate over time — outdated plugins, forgotten user accounts, and configuration drift that initial setup doesn’t anticipate.

Etienne Basson works with website systems, SEO-driven site architecture, and technical implementation. He writes practical guides on building, structuring, and optimizing websites for long-term growth.