You can build a professional website, configure SMTP correctly, and still have your emails end up in spam folders if your domain email authentication is not configured properly.
This usually shows up after launching a contact form, sending WooCommerce emails, or setting up newsletter software. Everything appears to work, but emails either disappear, land in spam, or trigger warnings in Gmail and Outlook. In most WordPress sites I build, email authentication becomes important as soon as the site starts sending real business emails instead of simple test messages.
SPF, DKIM, and DMARC are the DNS records that help mailbox providers trust your website email. They confirm that your emails are actually coming from your domain and were not modified during delivery.
Quick Answer
To improve email deliverability for your website, you should configure three DNS records on your domain:
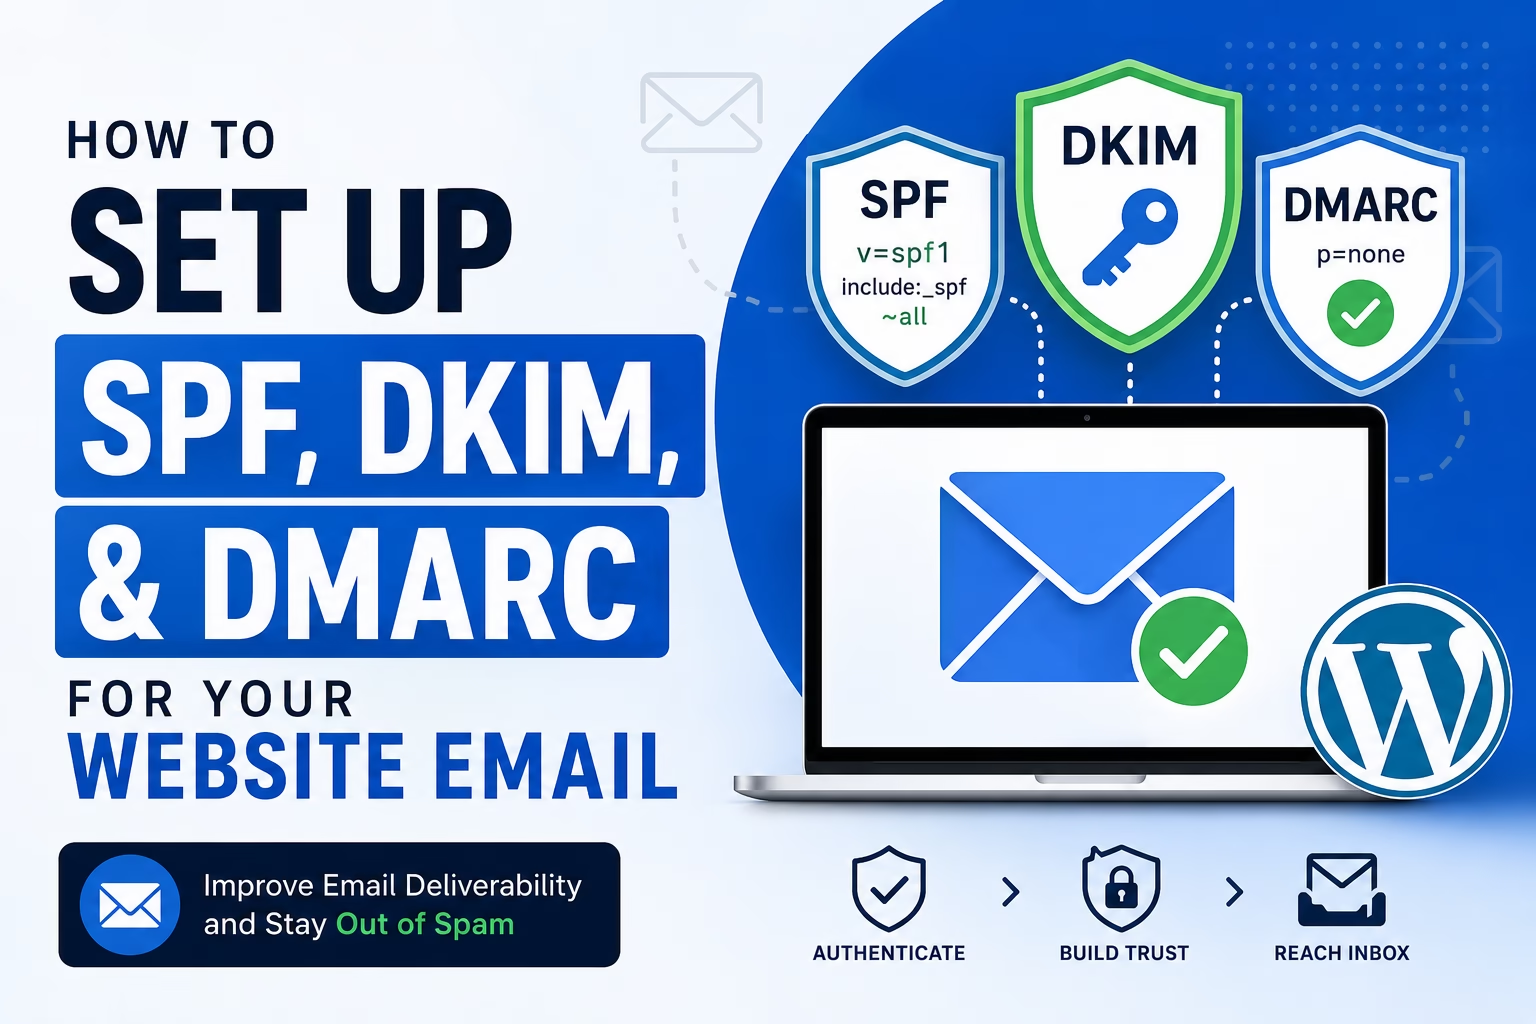
- SPF verifies which servers are allowed to send email for your domain
- DKIM adds a digital signature to your outgoing emails
- DMARC tells mailbox providers how to handle emails that fail authentication
These records are usually added in your domain DNS settings through your hosting provider, domain registrar, or DNS platform like Cloudflare.
Why SPF, DKIM, and DMARC Matter
Without these records, mailbox providers have less trust in your emails. That affects:
- Contact form notifications
- WooCommerce order emails
- Password reset emails
- Newsletter campaigns
- Automated marketing emails
- Business email accounts
Modern spam filtering relies heavily on authentication. Even small websites benefit from proper DNS email records.
When I review WordPress sites with email delivery problems, missing SPF or DKIM records are extremely common. DMARC is also often missing completely.
What SPF Does
SPF stands for Sender Policy Framework.
It tells mailbox providers which servers are allowed to send email using your domain name.
For example, if your domain sends email through:
- your hosting provider
- Google Workspace
- Microsoft 365
- MailerLite
- Mailchimp
- Brevo
- SMTP plugins
those services usually need to be included in your SPF record.
A basic SPF record looks like this:
v=spf1 include:_spf.google.com ~allThe exact value depends on your email provider.
What DKIM Does
DKIM stands for DomainKeys Identified Mail.
DKIM adds a cryptographic signature to outgoing email messages. Mail providers can then verify that the email was actually sent by your domain and was not changed during delivery.
Most email platforms generate DKIM records automatically. You usually copy DNS records from your email provider into your DNS settings.
DKIM records often look longer than SPF records because they contain encryption keys.
What DMARC Does
DMARC stands for Domain-based Message Authentication, Reporting, and Conformance.
DMARC works together with SPF and DKIM. It tells email providers what to do if authentication fails.
For example:
- allow the email
- send it to spam
- reject it completely
A simple DMARC record might look like this:
v=DMARC1; p=none;More advanced DMARC policies can quarantine or reject suspicious emails.
DMARC also helps reduce domain spoofing, where someone sends fake emails pretending to come from your website domain.
Step 1: Identify Your Email Sending Services
Before creating records, identify every service that sends email from your domain.
Common examples include:
- website hosting email
- Google Workspace
- Microsoft 365
- SMTP plugins
- newsletter software
- WooCommerce email plugins
- CRM systems
- marketing automation platforms
This step matters because missing services can cause legitimate emails to fail SPF checks.
Step 2: Find Your DNS Management Area
You usually manage DNS records in one of these places:
- your domain registrar
- your hosting provider
- Cloudflare
- another DNS provider
Common DNS providers include:
- GoDaddy
- Namecheap
- Cloudflare
- SiteGround
- Bluehost
- Hostinger
You need access to:
- TXT records
- DNS management
- zone editor settings
Step 3: Add an SPF Record
Your email provider normally gives you the SPF value.
Examples:
- Google Workspace
- Microsoft 365
- SMTP services
- newsletter platforms
You add the SPF record as a TXT record in DNS.
Typical settings:
- Type: TXT
- Host: @
- Value: provided by your email provider
Important: you should only have ONE SPF record per domain.
One mistake I frequently see is multiple SPF records created by different plugins or email services. That can break SPF validation entirely.
Step 4: Add DKIM Records
DKIM records are also added as TXT records.
Most providers generate:
- a selector name
- a TXT value
The selector becomes part of the DNS hostname.
For example:
selector1._domainkeyThe TXT value contains the encryption key provided by your email service.
DKIM setup can look intimidating because the values are long, but the process is usually just copy and paste.
Step 5: Add a DMARC Record
Create another TXT record.
Typical settings:
- Type: TXT
- Host:
_dmarc - Value:
v=DMARC1; p=none;Starting with p=none is usually safest for new setups because it allows monitoring before enforcing stricter policies.
Later, you can move to:
p=quarantinep=reject
once you confirm everything is working correctly.
Step 6: Verify Your Records
After adding records, test them using tools and documentation such as Google’s email authentication guidelines:
- MXToolbox
- Google Admin Toolbox
- Mail Tester
These tools check:
- SPF validity
- DKIM signatures
- DMARC configuration
- DNS propagation
DNS changes can take time to update. In my experience, most records appear within a few minutes, but full propagation can sometimes take several hours.
Common SPF, DKIM, and DMARC Mistakes
Creating Multiple SPF Records
A domain should only have one SPF TXT record.
If multiple services need authorization, they should usually be combined into one record.
Forgetting Third-Party Services
Marketing tools, CRM platforms, and SMTP plugins often send email using your domain. Those services may also require SPF or DKIM setup.
Using an Aggressive DMARC Policy Too Early
Using p=reject immediately can accidentally block legitimate emails if SPF or DKIM are not configured properly yet.
Editing the Wrong DNS Provider
Sometimes DNS is managed somewhere different from the hosting account. Cloudflare setups commonly cause confusion here.
Not Testing Contact Forms
Always test:
- contact forms
- WooCommerce emails
- newsletter opt-ins
- password reset emails
after DNS changes.
When to Use SMTP Plugins Alongside These Records
SPF, DKIM, and DMARC improve trust, but they do not replace SMTP.
SMTP plugins help WordPress send emails properly through authenticated email services. If you have not configured this yet, see How to Set Up SMTP in WordPress So Contact Form Emails Don’t Go Missing.
For most WordPress websites, I usually recommend both:
- SMTP configuration
- proper SPF, DKIM, and DMARC records
They solve different parts of the email delivery process.
Best Setup for Most WordPress Websites
For a typical business website, a reliable setup often includes:
- professional domain email
- SMTP plugin
- SPF record
- DKIM enabled
- DMARC configured
- contact form testing
That combination dramatically improves deliverability compared to the default WordPress mail system.
Final Thoughts
SPF, DKIM, and DMARC are some of the most important DNS settings for a professional website email setup. They help mailbox providers trust your emails and reduce delivery problems that commonly affect WordPress websites.
Once configured correctly, your contact forms, WooCommerce emails, newsletters, and automated messages are far more likely to reach inboxes reliably instead of disappearing into spam folders.

Etienne Basson works with website systems, SEO-driven site architecture, and technical implementation. He writes practical guides on building, structuring, and optimizing websites for long-term growth.